


A gleaming stainless steel stove can be the crown jewel of a modern kitchen, but let’s be honest—fingerprints, grease splatters, and water spots can dull its shine in a heartbeat. The secret to keeping it looking showroom-new isn’t some expensive, complicated process. It’s usually as simple as grabbing a microfiber cloth, some warm water, and a drop of dish soap, then wiping in the direction of the grain.
This guide will walk you through exactly how to maintain that pristine look with methods that are both effective and, most importantly, safe for your appliance.
Why Your Stainless Steel Stove Deserves the Right Care
Stainless steel is more than just a pretty face; it’s a tough, corrosion-resistant material built to handle the chaos of a busy kitchen. It’s no wonder its popularity in home appliances exploded after the post-World War II housing boom. Today, its market value just keeps climbing, with some projections showing the global stainless steel market could hit USD 254.94 billion by 2035.
That growth is all thanks to its easy-to-clean nature, making it a lifesaver for home cooks who need to wipe away messes without a ton of effort. You can learn more about what makes it so different in our guide comparing stainless steel vs. nonstick cookware.
At its core, stainless steel is an alloy of iron and chromium. That chromium is the magic ingredient, forming a passive, protective layer that wards off rust and stains. But “stainless” doesn’t mean “invincible.”
The Importance of Gentle Cleaning
This is where so many people go wrong. Reaching for the wrong cleaners or abrasive tools can permanently wreck that protective layer, leaving behind scratches, dull spots, or even rust. Aggressive steel wool or harsh chemical cleaners can strip away the finish, making the surface a magnet for future smudges and corrosion.
The secret to a lasting shine isn’t about scrubbing harder—it’s about using the right techniques consistently. Gentle, daily maintenance is far more effective than an occasional deep, abrasive clean.
By following a few simple rules, you can protect your investment and keep your stove looking brand new for years. This guide is all about safe, practical methods that cut through the grime without harming that beautiful finish. We’ll cover everything from quick daily wipe-downs to tackling those stubborn, baked-on messes that make you want to give up.
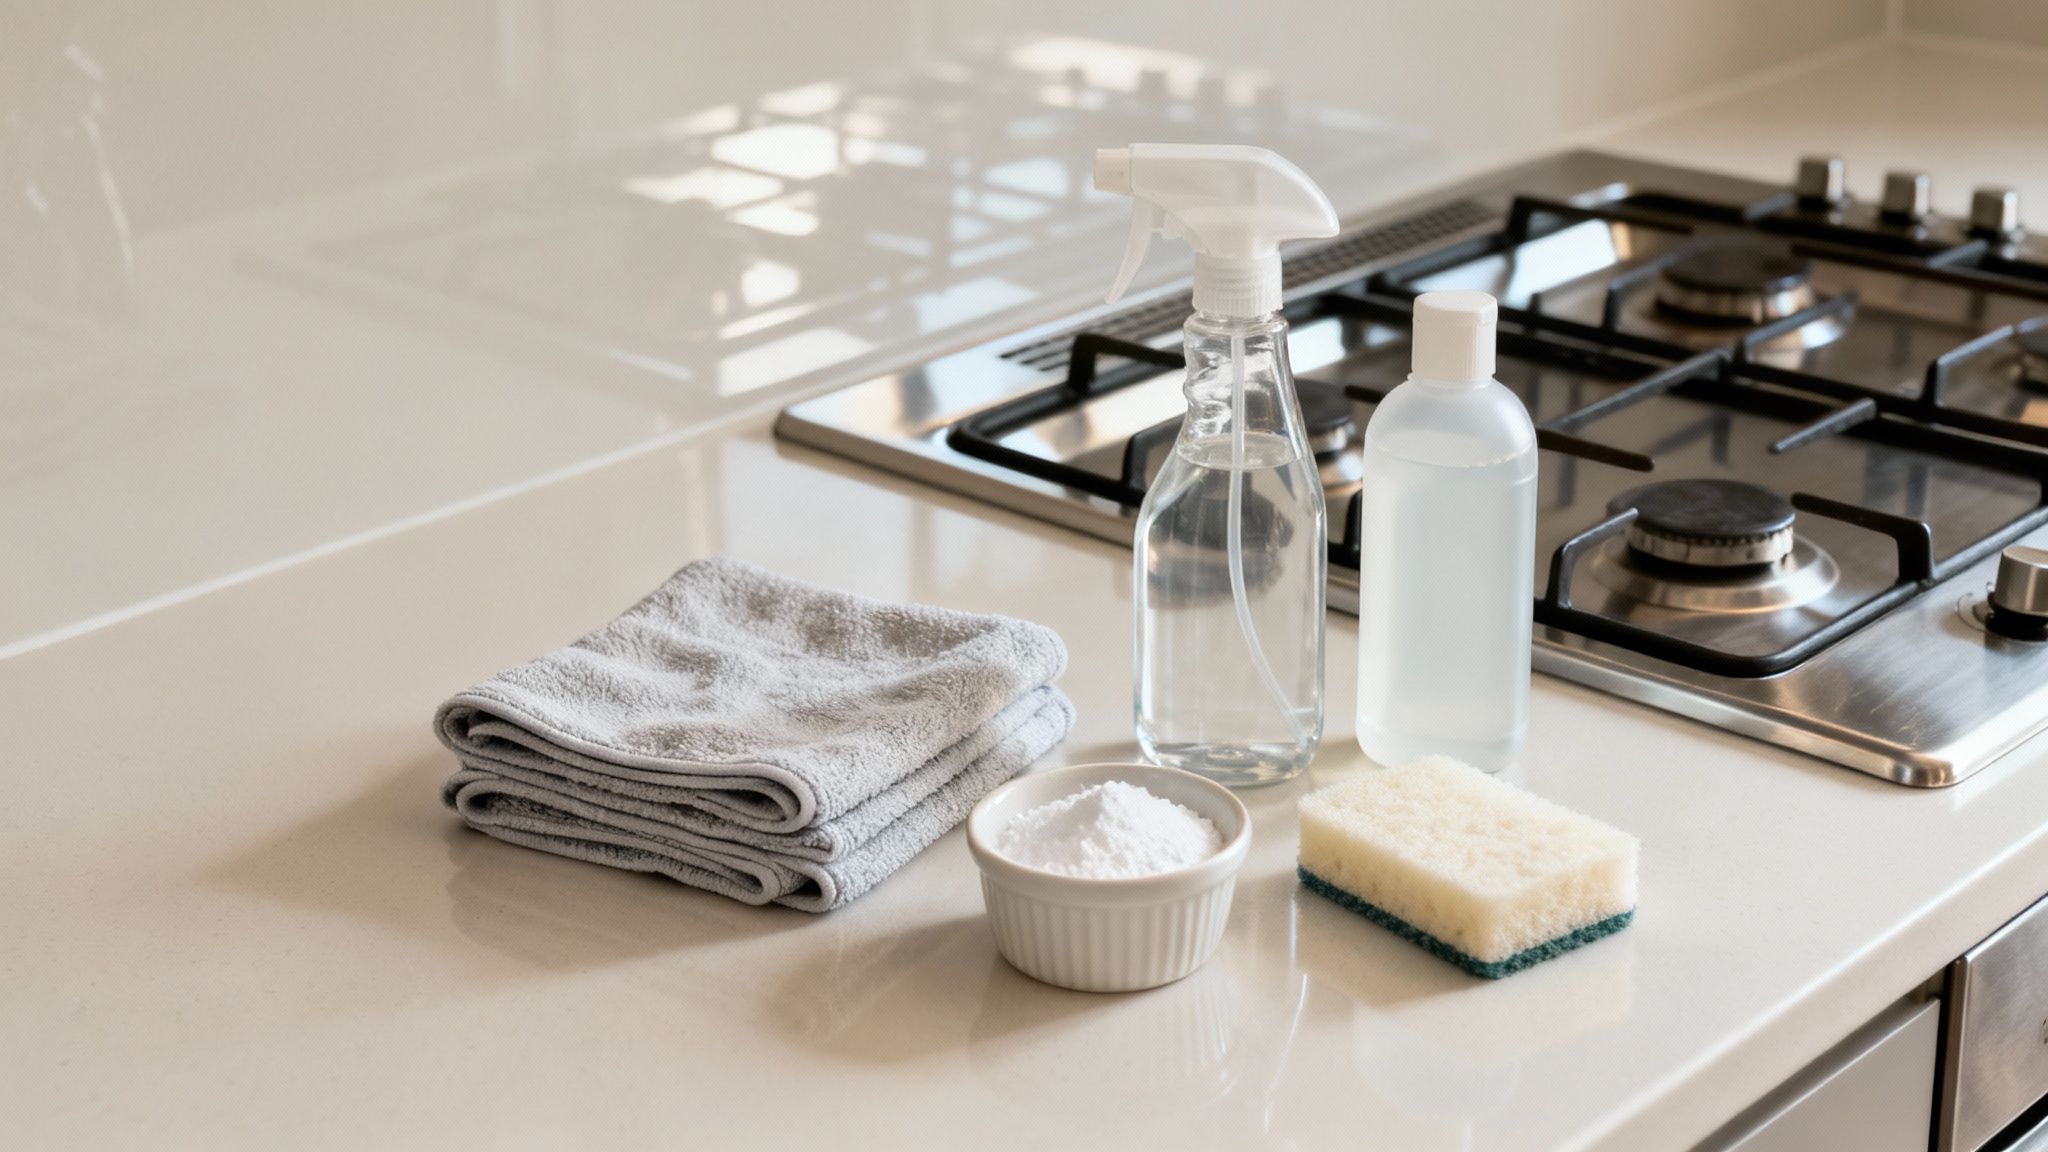
Assembling Your Stainless Steel Cleaning Kit
The secret to that perfect, streak-free shine on your stainless steel stove isn’t some expensive, miracle cleaner. It’s all about the tools you use. Honestly, using the wrong stuff is the fastest way to cause permanent scratches and dull the finish, so let’s put together a simple kit that actually protects your investment.
You really don’t need a cabinet full of harsh chemicals. In fact, some of the best tools for the job are gentle, cheap, and probably already in your kitchen.
First up, think of microfiber cloths as your new best friend. Their soft, non-abrasive fibers are incredible at trapping dirt and buffing surfaces without leaving a trail of lint or scratches. You’ll want at least two—one for the initial cleaning and a separate dry one for polishing.
This guide really nails the core principles for a successful clean.
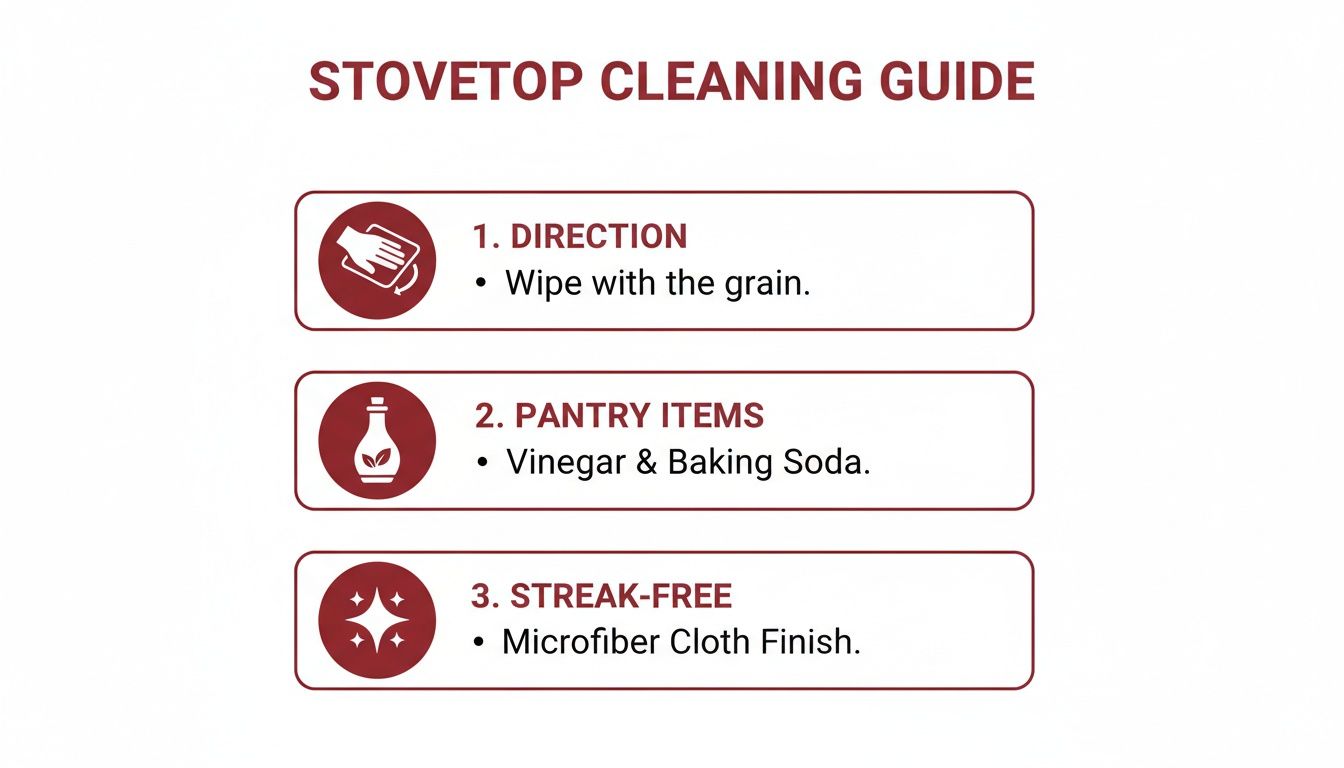
As you can see, it boils down to three simple things: always wiping with the grain, using basic pantry items, and making sure you get that final streak-free finish.
Your Go-To Cleaning Supplies
For most daily smudges and light messes, a simple mix of warm water and a few drops of mild dish soap is all you need. That’s it.
For tougher, greasy splatters, I like to keep a spray bottle filled with a 50/50 solution of white vinegar and water. It cuts through grease like a charm. Baking soda is another powerhouse, especially for creating a gentle, non-abrasive paste that can lift away stubborn, baked-on food without scratching the surface.
Here’s your essential shopping list:
- Microfiber Cloths: A must-have for washing, drying, and polishing without leaving scratches.
- Non-Abrasive Sponge: Gives you a bit more scrubbing power for those stubborn spots, but won’t damage the steel.
- Mild Dish Soap: Your everyday, gentle degreaser that’s perfectly safe for daily wipe-downs.
- White Vinegar & Baking Soda: Natural, effective cleaners that tackle grease and grime effortlessly.
A huge part of knowing how to clean stainless steel is understanding what not to do. Using the wrong tools can permanently ruin your stove’s finish, turning a five-minute cleaning job into a costly mistake. For a deeper dive, check out our complete guide on how to clean stainless steel for more tips.
What to Avoid at All Costs
This “do not use” list is non-negotiable if you want to clean stainless steel stove surfaces safely. Abrasive cleaners and scrubbers will literally scrape away the protective layer, and there’s no going back from that.
- Steel Wool or Scouring Pads: These will leave deep, irreversible scratches. Just don’t.
- Abrasive Powder Cleaners: Gritty cleaners like Comet will scratch and dull the finish over time.
- Chlorine Bleach or Oven Cleaners: These chemicals are far too harsh and can stain, pit, and corrode the steel.
To make it even easier, here’s a quick cheat sheet to keep handy.
Your Stainless Steel Cleaning Cheat Sheet
This table breaks down exactly what’s safe to use on your stainless steel stove and what you should steer clear of, no matter how tempting it might be for a tough stain.
| Safe to Use | Why It Works | What to Avoid | Why It’s Harmful |
|---|---|---|---|
| Microfiber Cloths | Soft fibers clean and polish without scratching the surface. | Steel Wool/Scouring Pads | Creates deep, permanent scratches that can’t be buffed out. |
| Mild Dish Soap | Gently lifts grease and grime without harsh chemicals. | Abrasive Cleaners | Gritty particles will dull the protective finish of the steel. |
| Vinegar & Water | The acidity in vinegar is great for cutting through tough grease. | Chlorine Bleach | Can cause discoloration, staining, and even corrosion over time. |
| Baking Soda Paste | Acts as a mild abrasive to scrub off food without scratching. | Oven Cleaner | Contains harsh chemicals that can permanently damage the steel. |
Think of this as your go-to guide. When in doubt, always start with the gentlest option (soap and water) and work your way up only if needed. Your stove will thank you for it.
That shiny finish on your stove comes from a thin layer of chromium oxide, which is surprisingly resilient. It can actually self-heal from minor scratches and can withstand over 1,000 cleanings without pitting. To protect this layer and prevent 90% of water spots, all you have to do is use a damp cloth with a little dish soap and then dry it immediately. It’s this simple maintenance that helps a well-cared-for stove last 15-20 years.
The 5-Minute Daily Wipe-Down for a Spotless Finish
The secret to keeping a stainless steel stove looking brand new isn’t some miracle cleaner or an intense scrubbing session. It’s consistency. I’m talking about a simple, five-minute wipe-down after you’re done cooking for the day. That’s it. This quick habit is way more effective than letting gunk build up and then launching an all-out cleaning assault on Saturday morning.
This daily touch-up tackles the usual suspects—fingerprints, smudges, and little splatters from dinner—before they have a chance to get baked on and become a real problem.
This proactive approach does more than save you elbow grease down the line; it actually protects the steel’s finish. Constant, aggressive scrubbing can wear down that protective chromium oxide layer that gives stainless its signature look. A gentle daily wipe, on the other hand, keeps it intact.
First Thing’s First: Find the Grain
Before you even think about wiping, get up close and personal with your stove’s surface. You’ll see super fine, parallel lines running in one direction, either horizontally or vertically. That’s the grain of the steel.
Cleaning with the grain isn’t just a friendly suggestion—it’s the golden rule. If you wipe against it, you’re essentially pushing tiny bits of dirt and cleaner into those microscopic grooves, which is a fast track to a dull, streaky mess. Worse, it can cause micro-scratches that permanently ruin that sleek, uniform appearance.
Think of it like sanding wood; you’d never go against the grain because it creates a rough, uneven surface. The same logic applies here. Following the grain is your ticket to a smooth, seamless clean every single time.
The Simple Soap and Water Method
For this daily clean, you don’t need anything fancy. Just grab a soft microfiber cloth, some warm water, and a single drop of mild dish soap. Do yourself a favor and ditch the paper towels (they leave lint everywhere) and absolutely avoid abrasive sponges or scrub pads.
Here’s all it takes for a perfect daily clean:
- Dampen, Don’t Soak: Get your microfiber cloth damp with warm water and add just a tiny drop of dish soap. Wring it out well. You want it moist, not sopping wet.
- Wipe with the Grain: Gently wipe down the entire stovetop, cooktop, and control panel. Always move your cloth in the same direction as the steel’s grain. The mild soap is all you need to lift fresh fingerprints and light grease.
- Rinse and Repeat: Rinse out your cloth with clean water, wring it out again, and give the surface one more pass to pick up any leftover soap residue.
Honestly, this simple technique is usually all it takes to keep your appliance looking great.
Don’t Skip the Final Step: Drying
Now for what might be the most critical part of the process to clean stainless steel stove surfaces: drying. If you leave even a little bit of moisture behind, you’re guaranteed to get water spots and streaks, which are just as annoying as the smudges you were trying to remove in the first place.
Take a second, completely dry microfiber cloth and buff the surface until it’s totally dry. And yes, you guessed it—follow the grain while you do it. This final buff not only prevents spots but also brings out the natural shine of the steel. It leaves you with that polished, showroom-quality finish that looks fantastic. This step takes less than a minute but makes all the difference.
Tackling Grease and Baked-On Food
When the daily wipe-down just won’t cut it, you’ve got to call in the reinforcements. That doesn’t mean reaching for abrasive scrubbers or harsh chemicals that can do more harm than good. The two biggest offenders on any stainless steel stove are that sticky, yellowish film of grease and those stubborn black spots of baked-on food.
Thankfully, you can defeat both with a little patience and a couple of things you probably already have in your pantry.
For that persistent greasy film that makes your stove feel tacky, the solution is surprisingly simple. Start by soaking a microfiber cloth in very hot, soapy water—as hot as you can safely stand. Wring it out so it’s damp but not dripping, then lay it flat over the greasy area.
Just let the cloth sit there for about five to ten minutes. The heat and soap work together to soften and dissolve the grease, doing most of the heavy lifting for you. After its little sauna session, just wipe the area clean, always moving with the grain of the steel. It’s an incredibly effective method and way safer than dousing your cooktop in a harsh degreaser.
Getting Rid of Stubborn Baked-On Messes
Now, for those tough, carbonized food spills that look like they’ve become one with the stove. Your secret weapon here is baking soda. It’s a mild abrasive, strong enough to break down burnt food but gentle enough that it won’t scratch your stove’s finish.
Start by creating a thick paste. Just mix baking soda with a small amount of warm water until you get a consistency like toothpaste. Dab this paste directly onto the baked-on spots, making sure to cover them completely.
This is where a little patience really pays off. Let the paste sit on the stain for at least 15-20 minutes. For really tough, caked-on messes, you might even want to leave it longer. This gives the baking soda time to work its magic, breaking down the burnt residue so you can wipe it away with minimal effort.
After waiting, use a damp microfiber cloth or a non-abrasive sponge to gently scrub the area in a circular motion. The food should start to lift away pretty easily. If you feel like you have to scrub really hard, it just means the paste needs more time to sit.
Once the spot is gone, wipe the area with a clean, damp cloth to rinse away any residue. Then, dry it thoroughly with a second cloth to bring back that shine and prevent water spots. This simple routine is a cornerstone of proper maintenance. You can find more tips on getting the most out of your kitchen gear in our guide to the best frying pan for a gas cooktop.
Boosting Your Cleaning Power Naturally
Little routines like this are shockingly effective. For real value, proper maintenance is key—weekly vinegar wipes can keep surfaces 98% bacteria-free and extend an appliance’s life by up to 25%. For particularly greasy stovetops, a homemade steam clean solution of lemon and salt can be 70% effective. The fact that stainless steel resists fingerprints 50% better with proper care makes these simple habits pay off. Discover more insights about the global stainless steel market.
Polishing Your Stove for a Streak-Free Shine
Alright, you’ve conquered the grime and banished the baked-on messes. Your stove is clean, but is it gleaming? This is the final step that separates a clean stove from a showroom-worthy one. Polishing is what gives you that deep, streak-free luster while also laying down a protective barrier that makes fingerprints and smudges less of a headache later on.
Think of it like waxing your car after a good wash—it’s what makes the finish truly pop. You’ve got a couple of great ways to get this done: a dedicated commercial stainless steel polish or a quick DIY oil treatment. Honestly, both work wonders. It really just comes down to what you prefer and what you have in the cupboard.
Using a Commercial Polish
If you’re aiming for that professional, just-installed look when you clean stainless steel stove surfaces, a quality commercial polish is your best friend. These are formulated specifically to shine and protect the metal without causing any damage. My advice? Look for a non-abrasive, oil-based polish and steer clear of anything with harsh chemicals like chlorine.
Getting a great finish is all in the application. You want to avoid that greasy, uneven look.
- First, put a small amount of the polish on a clean, dry microfiber cloth, not directly onto the stove itself. Trust me, a little goes a very long way.
- Next, wipe with the grain of the steel. You’re just spreading a thin, even layer across the whole surface.
- Finally, buff it out right away with a second, clean microfiber cloth. Use light, long strokes, again moving with the grain, until the surface is dry and shining.
That last buffing step is non-negotiable. It’s what picks up any excess product and leaves you with that brilliant, flawless shine.
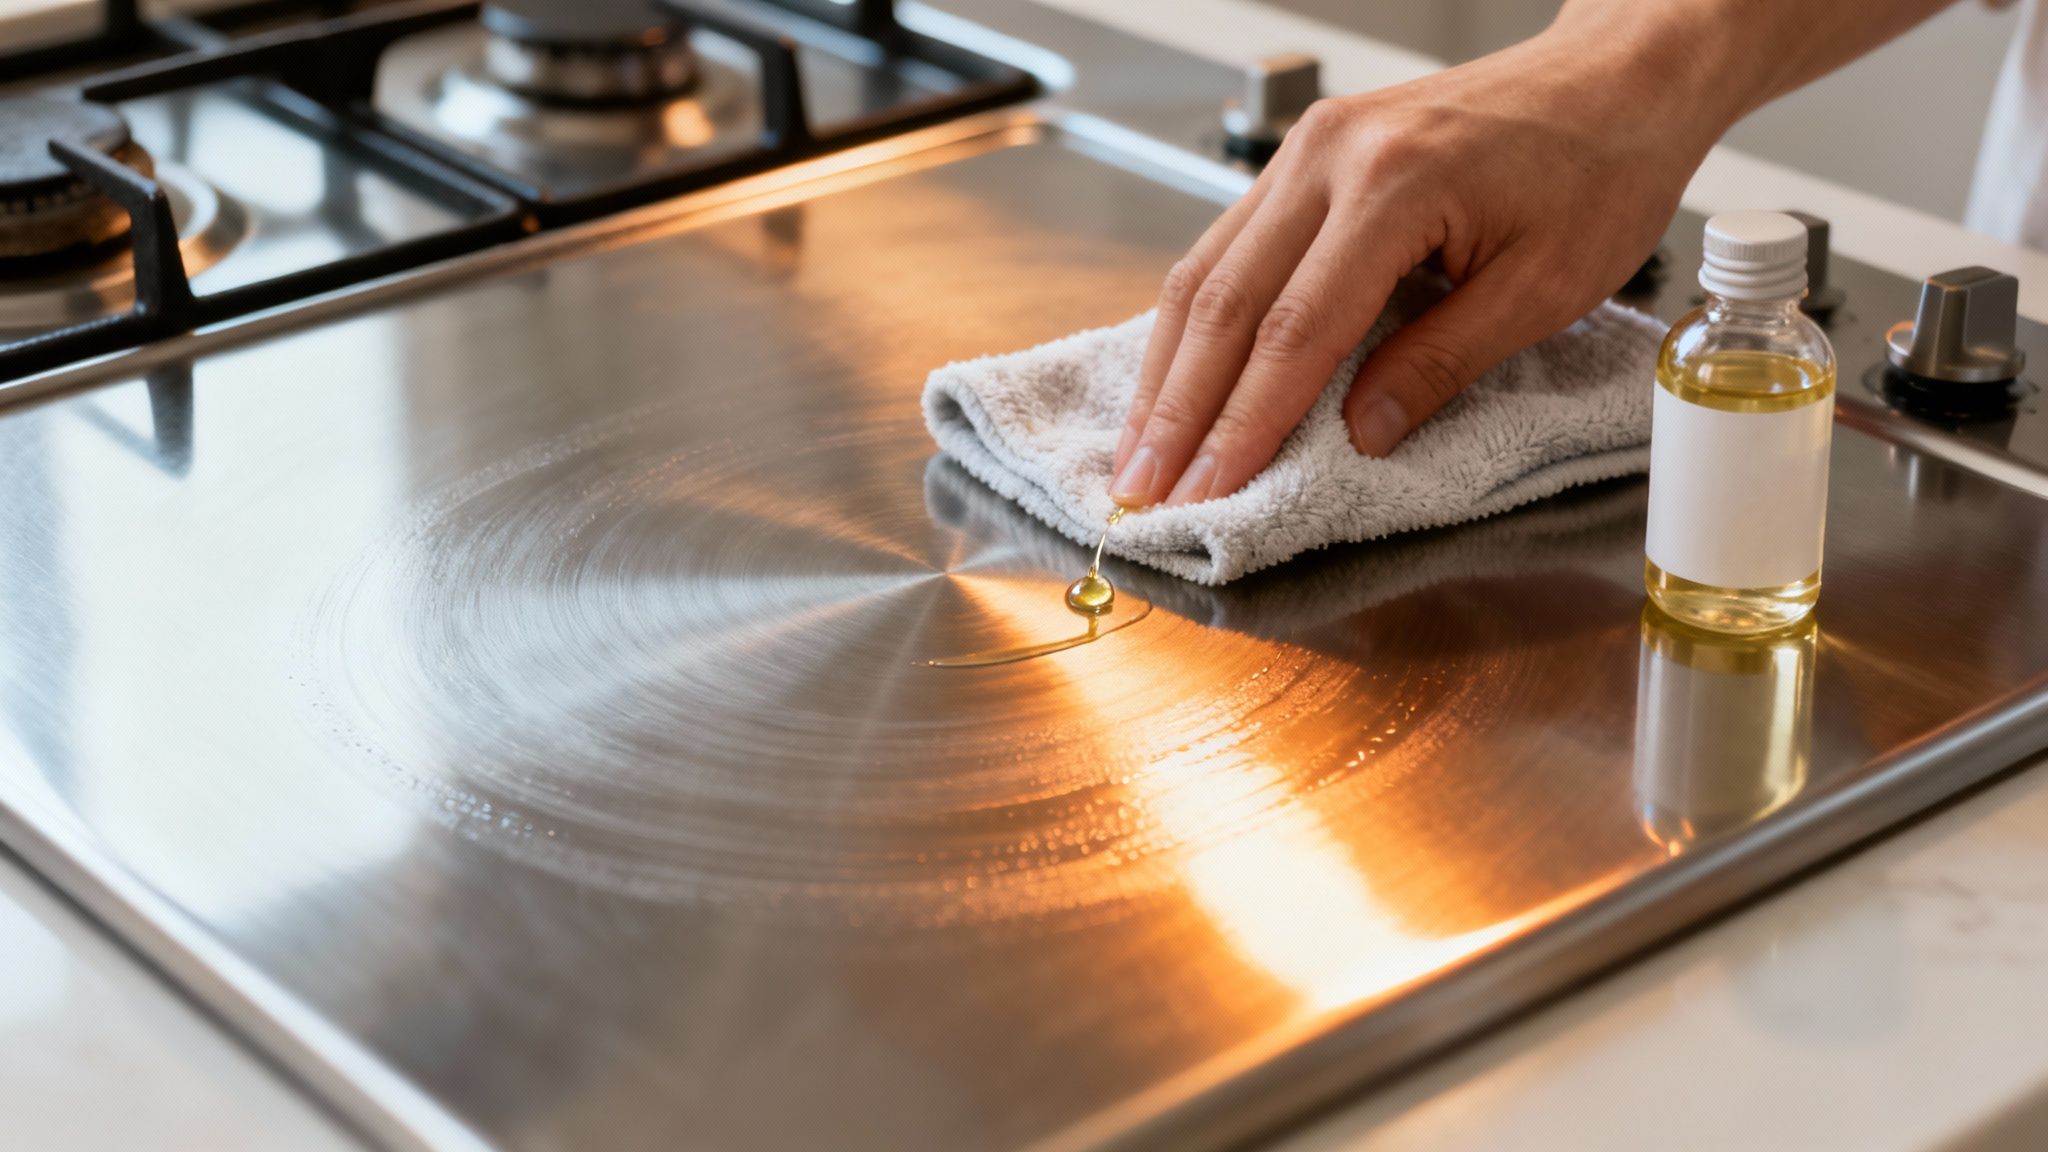
The DIY Oil Polishing Method
For a super quick, natural alternative, you probably don’t need to look any further than your kitchen pantry. A tiny bit of mineral oil, baby oil, or even olive oil can deliver a fantastic shine. The key here—and I can’t stress this enough—is to use an incredibly small amount. Too much and you’ll end up with a sticky surface that’s a magnet for dust.
It’s simple: just put a few drops of oil on a clean microfiber cloth. Gently rub it over the stove’s surface, always following the direction of the grain. The goal is to apply a microscopic layer that just enhances the steel’s natural luster.
Once it’s applied, grab a separate dry cloth and buff the entire stove vigorously. This removes any leftover oil and makes sure the finish is smooth and not at all greasy to the touch. What you’re left with is a beautiful, uniform sheen that not only looks incredible but also helps keep new fingerprints from taking hold.
Got Questions About Cleaning Your Stainless Steel Stove? We’ve Got Answers
Even with the best game plan, stainless steel can throw you a curveball. You’re not the first person to wonder about that weird rainbow-colored stain that won’t wipe away or to be tempted by a so-called “magic” cleaning tool.
Let’s tackle some of the most common questions that pop up. Think of this as your troubleshooting guide for those tricky situations that go beyond a simple daily wipe-down.
How Do I Get Rid of Those Rainbow Stains or Heat Discoloration?
You know what I’m talking about—those bluish, rainbow-like smudges that appear around the burners after a session of high-heat cooking. That’s called heat tint. It happens when the protective chromium oxide layer on the steel gets a little too thick from the intense temperature. It looks alarming, but don’t worry, it’s a super common issue and totally fixable.
Your best bet here is a cleaner with a mild acid, like the tried-and-true Bar Keepers Friend. But don’t just sprinkle the dry powder on and start scrubbing. The trick is to make a paste. Mix a little powder with a few drops of water until it has the consistency of toothpaste.
Apply the paste right onto the discolored spot and let it sit for about a minute—seriously, no longer. Then, grab a soft, damp cloth and gently rub the paste, always moving in the direction of the steel’s grain. You don’t need to apply a ton of pressure. Rinse the area completely with a fresh, wet cloth and dry it thoroughly to check your work.
This works because the mild acid gently thins out that thickened oxide layer without scratching the steel underneath. The key is to be gentle and quick; letting it sit for ages won’t make it work better and could cause damage.
Is It Safe to Use a Magic Eraser on My Stove?
Let me make this crystal clear: absolutely not. Never, ever use a magic eraser on your stainless steel stove. It might feel like a soft sponge in your hand, but a magic eraser is actually a micro-abrasive. Think of it as incredibly fine-grit sandpaper.
Using one will etch thousands of microscopic, irreversible scratches into the finish. You might not see them as deep gouges, but they will permanently dull the surface, kill its beautiful reflective shine, and make it a magnet for future stains and even rust.
It’s just not worth the risk. Always stick to non-abrasive tools for the job.
- Your Best Friend: Microfiber cloths. You need them for washing, drying, and polishing.
- For Light Scrubbing: A non-abrasive sponge can help lift stuck-on gunk without causing harm.
- Hard Pass: Steel wool, scouring pads, gritty powders, and, yes, magic erasers.
What’s the Best Way to Clean the Stove Knobs and Grates?
Don’t forget the accessories! Cleaning the knobs and grates is just as important as the stovetop itself. But since they are often made from different materials, they need a different approach. Your first move should always be to check your stove’s user manual to see what they’re actually made of.
For most plastic or metal control knobs, it’s pretty straightforward. You can usually pull them off and let them soak in a bowl of warm, soapy water for about 15 minutes. An old toothbrush is perfect for gently scrubbing away any grime that’s built up in the little crevices. Once they’re clean, rinse them well and—this is critical—make sure they are 100% dry before popping them back on.
Cast iron gas grates are a different beast. For regular cleaning, a good soak in hot, soapy water will loosen most of the grease. You can use a non-abrasive scrub brush to get rid of any leftover food bits. If you’re dealing with serious, baked-on crud, some people have success with a fume-free oven cleaner in a well-ventilated area. But always test it on a small, hidden spot first to make sure it doesn’t mess up the finish.
Can I Use Windex or Other Glass Cleaners?
It’s so tempting to just grab the Windex when you see fingerprints, but please, step away from the glass cleaner. Most of these formulas, especially any containing ammonia, are way too harsh for the delicate finish on stainless steel.
Over time, these chemicals can cause streaking, create a permanent cloudy haze, or even lead to discoloration that you can’t wipe away. It’s a gamble that almost never pays off, especially when much better options are at your fingertips.
For that gorgeous, streak-free shine, stick with what’s proven to be safe for your appliance:
- A simple mix of pH-neutral dish soap and water.
- A 50/50 solution of white vinegar and water to cut through grease.
- A commercial cleaner specifically made and labeled as safe for stainless steel.
At Reva Housing, our goal is to give you trustworthy, easy-to-read guidance so you can make confident decisions for your home. Find more of our in-depth reviews and practical tips at https://revahousing.com.