


Thinking about adding a propane heater to your home, garage, or workshop? You’re in good company. A quality propane heater, like those from trusted brands such as Mr. Heater or Dyna-Glo, can be a game-changer for keeping spaces warm and comfortable, especially where central heating doesn’t reach. They stand out for their efficiency and power, making them ideal for anyone needing reliable heat that works even when the power is out.
This guide will walk you through everything you need to know to install a propane heater safely and effectively. While setting up a simple portable unit is a straightforward DIY project, permanent installations with gas lines often require a professional touch. The most crucial step, no matter the type, is ensuring a perfect, leak-free gas connection.
Features & Benefits: Why Choose a Propane Heater?
Before we dive into the installation process, let’s quickly cover why so many homeowners are turning to propane. It boils down to a few key benefits that add real value to your home.
- Cost-Effective Operation: In most regions, propane is a more budget-friendly fuel than electricity. Over a long, chilly winter, the savings on your heating bills can be significant.
- Works Off-Grid: This is a major advantage. Since they don’t rely on the electrical grid, propane heaters provide a reliable source of warmth during power outages, ensuring your family stays safe and comfortable.
- Powerful, Fast Heating: Propane heaters are designed for performance. They can take a frigid garage or a drafty workshop and make it toasty in a fraction of the time it would take most electric heaters. Their high BTU output is a key feature.
- Versatile for Any Space: From small, indoor-safe portable models you can move from room to room to powerful, permanently mounted wall units, there’s a design for nearly any heating need.
Pros & Cons of Propane Heaters
To give you a balanced view, here’s a clear breakdown of the advantages and potential drawbacks.
- Pros:
- Excellent heating efficiency and lower fuel costs.
- Reliable performance during power outages.
- Heats spaces quickly and effectively.
- Wide variety of models for different applications.
- Cons:
- Requires proper ventilation to prevent carbon monoxide buildup.
- Propane tanks need to be refilled or replaced.
- Permanent installation can be complex and may require a professional.
- Units produce moisture, which can be an issue in tightly sealed spaces.
Customer Reviews: What Are Users Saying?
Here is a summary of real-world feedback from homeowners who have installed propane heaters:
- Positive: “I installed a Dyna-Glo wall heater in my 400 sq. ft. workshop, and it’s been fantastic. It heats the space in about 15 minutes, even on the coldest days. The thermostat control is accurate, and I feel much safer with the auto-shutoff feature.”
- Constructive: “The Mr. Heater Buddy is a lifesaver during power outages, but it’s important to remember to crack a window for ventilation. The first time I used it, I didn’t, and the low-oxygen sensor shut it off, which was a good reminder of how important that feature is.”
- Mixed: “My wall-mounted unit is incredibly efficient, but the installation was more challenging than I expected. Getting the vent kit sealed properly took some extra time and high-temp silicone. I’d recommend having a pro handle it if you’re not comfortable cutting into your wall.”
Which Propane Heater Fits Your Needs?
Before you start measuring, you need to know which type of heater makes sense for your space. This table breaks down the most common types so you can see where they shine and what the installation entails.
| Heater Type | Ideal Location | Installation Difficulty | Key Safety Factor |
|---|---|---|---|
| Portable (Unvented) | Garages, workshops, patios, well-ventilated indoor areas | Easy: Connect a propane tank and you’re good to go. | Oxygen Depletion Sensor (ODS) is a must for indoor use. |
| Wall-Mounted (Unvented) | Basements, cabins, supplemental room heating | Moderate: Requires secure mounting and a dedicated gas line. | Proper clearance from flammable materials is non-negotiable. |
| Wall-Mounted (Vented) | Living rooms, bedrooms, primary heat source | Difficult: Requires cutting holes in walls for intake/exhaust vents. | Ensuring a perfect seal on the vent pipes to prevent leaks. |
| Forced Air (Garage) | Large workshops, garages, commercial spaces | Very Difficult: Involves extensive ductwork, venting, and gas piping. | Professional installation is almost always required for safety and code. |
Choosing the right heater from the start will save you a ton of headaches. A portable heater might be an easy weekend project, but a vented wall unit is a serious undertaking that needs careful planning.
Planning Your Install for a Safe Outcome
Before you ever touch a wrench, your most important tool is a solid plan. A successful propane heater installation is 90% preparation and only 10% execution. Taking time now to assess your space, check local codes, and gather your supplies will prevent major headaches and ensure a safe outcome.
First, let’s figure out how much heating power you actually need. This is measured in BTUs (British Thermal Units). A heater that’s too small will leave you cold and disappointed, while one that’s too big will waste fuel and make the room stuffy.
Calculate Your Required BTU
Getting the right size heater is essential. A reliable way to estimate your needs is to find the cubic footage of your space (Length x Width x Height) and apply a multiplier based on its insulation level.
- Poorly Insulated Space: (e.g., drafty garages) Multiply cubic footage by 0.133.
- Moderately Insulated Space: (e.g., typical finished basement) Use a multiplier of 0.067.
- Well-Insulated Space: (e.g., modern, tightly sealed room) Start with a multiplier of 0.033.
For example, a 20’x20′ garage with 10′ ceilings is 4,000 cubic feet. If it’s poorly insulated, you’d need roughly 5,320 BTUs (4,000 x 0.133). This simple math gives you a target number for heater shopping.
Check Local Codes and Permits
This is the step everyone wants to skip, and it’s a huge mistake. Because we’re dealing with a fuel-burning appliance, regulations exist for a critical reason: safety.
Many municipalities require a permit for any permanent propane heater installation, especially if it involves running new gas lines or cutting a vent through a wall. Visit your local building department’s website or call them. Ask about requirements for “fuel gas appliances.” They’ll tell you if you need a permit, what inspections are required, and whether the job must be done by a licensed professional.
Gather Your Tools and Materials
There’s nothing more frustrating than pausing a job to run to the hardware store. Lay everything out before you begin.
Essential Tools & Supplies Checklist:
- Two Pipe Wrenches: You need two—one to hold the fitting steady and the other to tighten, preventing stress on the heater’s internal connections.
- Adjustable Wrench: For various nuts and bolts on mounting brackets.
- Drill with Assorted Bits: For pilot holes and potentially a hole saw for running gas lines or vents.
- Level: Your heater must be mounted perfectly straight to work correctly and safely.
- Tape Measure: For checking clearances and placement.
- Yellow Teflon Tape (Gas-Rated): Critical. Do not use white plumber’s tape. The yellow type is specifically made to resist propane and natural gas.
- Pipe Dope (Gas-Rated Sealant): An alternative or supplement to Teflon tape for creating a perfect seal.
- Leak Detection Fluid: A non-corrosive solution to check every connection. A spray bottle with dish soap and water works perfectly.
Installing Vented and Unvented Wall Heaters
With planning complete, it’s time to get to work. Installing a permanent wall heater is a bigger job than setting up a portable unit, but it’s very manageable. The process depends on whether you chose a direct-vent or a vent-free (unvented) model.
Direct-vent heaters are the top choice for indoor air quality as they pull combustion air from outside and exhaust fumes back out. Vent-free heaters are simpler to install but require careful attention to room size and ventilation for safety.
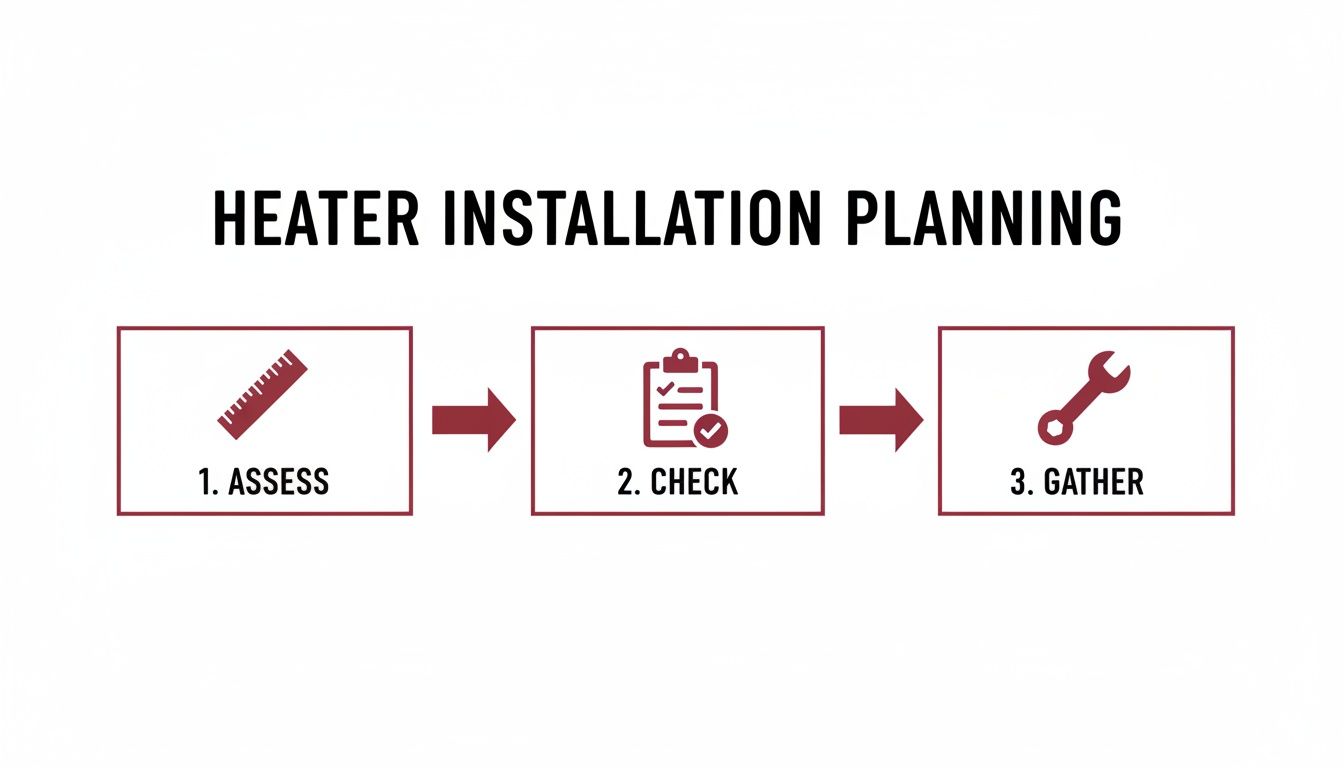
This flow chart sums it up: a successful installation starts with measuring, checking codes, and gathering tools before you start drilling.
Installing a Direct-Vent Propane Heater
A direct-vent heater is a sealed system, making it an incredibly safe and efficient option. The main task is creating a clean opening through an exterior wall for the vent.
First, pick your spot. It must be an exterior wall. Use a stud finder to locate the studs and plan to center the heater between them to avoid cutting into structural framing.
Use the manufacturer’s template to mark drilling locations for the mounting brackets and the vent hole. Trace the outline, then drill a pilot hole through the center of the vent circle, all the way to the outside. This gives you a perfect reference point.
Now, cut the opening with a hole saw or jigsaw, first on the interior wall, then from the outside. Cutting from both sides minimizes splintering and ensures a cleaner hole.
Slide the vent thimble (a protective metal sleeve) through the wall. Securely mount the heater to the wall studs using the supplied brackets, ensuring it’s perfectly level. Finally, slide the vent pipe through the thimble and connect it to the back of the heater.
Don’t Forget to Seal the Exterior!
A commonly missed step is properly sealing the exterior vent cap. Use a high-quality, weather-resistant silicone caulk around the entire edge of the outdoor vent cover to prevent moisture, drafts, and pests from entering your wall.
Installing a Vent-Free Wall Heater
Vent-free heaters are popular because they don’t require cutting a large hole in your wall. However, this convenience comes with a critical responsibility: ensuring adequate ventilation. These heaters pull combustion air from the room and release exhaust back into it, so they are only safe in rooms that meet minimum size and airflow standards.
First, confirm your room is large enough. The heater’s manual will list the minimum cubic footage required. Never install an unvented heater in a bedroom, bathroom, or any small, tightly sealed space.
All modern unvented heaters include an Oxygen Depletion Sensor (ODS), a life-saving feature that automatically shuts the heater off if the room’s oxygen level drops. This is your most important safety backup.
Mounting the unit is straightforward. Find the studs, use the template to mark your drill points, and securely attach the mounting bracket to the wall. Use a level to ensure the heater is perfectly horizontal. This process is similar to other wall-mounted projects, like our guide on installing a new vent hood, which covers the same principles.
Pro Tips for Gas Fittings
Getting the gas line connected properly is where precision matters most.
- Use Two Wrenches: Hold the fitting on the heater steady with one wrench while tightening the incoming gas line with the second. This prevents damage to the heater’s internal connections.
- Apply Sealant Correctly: Use yellow, gas-rated Teflon tape. Wrap it clockwise around the male threads 3-4 times. Wrapping clockwise ensures the tape tightens into the threads as you screw the fitting on.
- Don’t Overtighten: Cranking down too hard can damage the threads and cause a leak. The rule of thumb is “snug, plus a quarter turn.”
With your heater securely mounted, it’s time for the most critical step: connecting the fuel and ensuring there are absolutely no leaks.
This is where patience and precision pay off. It ensures your heater operates safely from the very first use. Whether connecting to a large residential tank or a portable cylinder, the goal is a perfect, tested seal. The safety principles overlap with other gas appliances, a topic we explore in our guide to propane vs. natural gas for grills.
Attaching the Gas Line Correctly
When making threaded connections, use yellow gas-rated Teflon tape and two pipe wrenches. Never use white plumbing tape, as it can break down when exposed to propane.
Wrap the yellow tape 3-4 times clockwise around the male threads. Use one wrench to hold the heater’s fitting still and the second to tighten the incoming gas line. This prevents putting excess force on the heater’s internal parts.
Expert Insight: The ‘Snug Plus a Quarter Turn’ Rule
Overtightening is a classic mistake. The goal is a gas-tight seal, not a test of strength. I always tighten until it feels snug, then give it one firm quarter-turn. That’s almost always enough to create a perfect seal without risking damage.
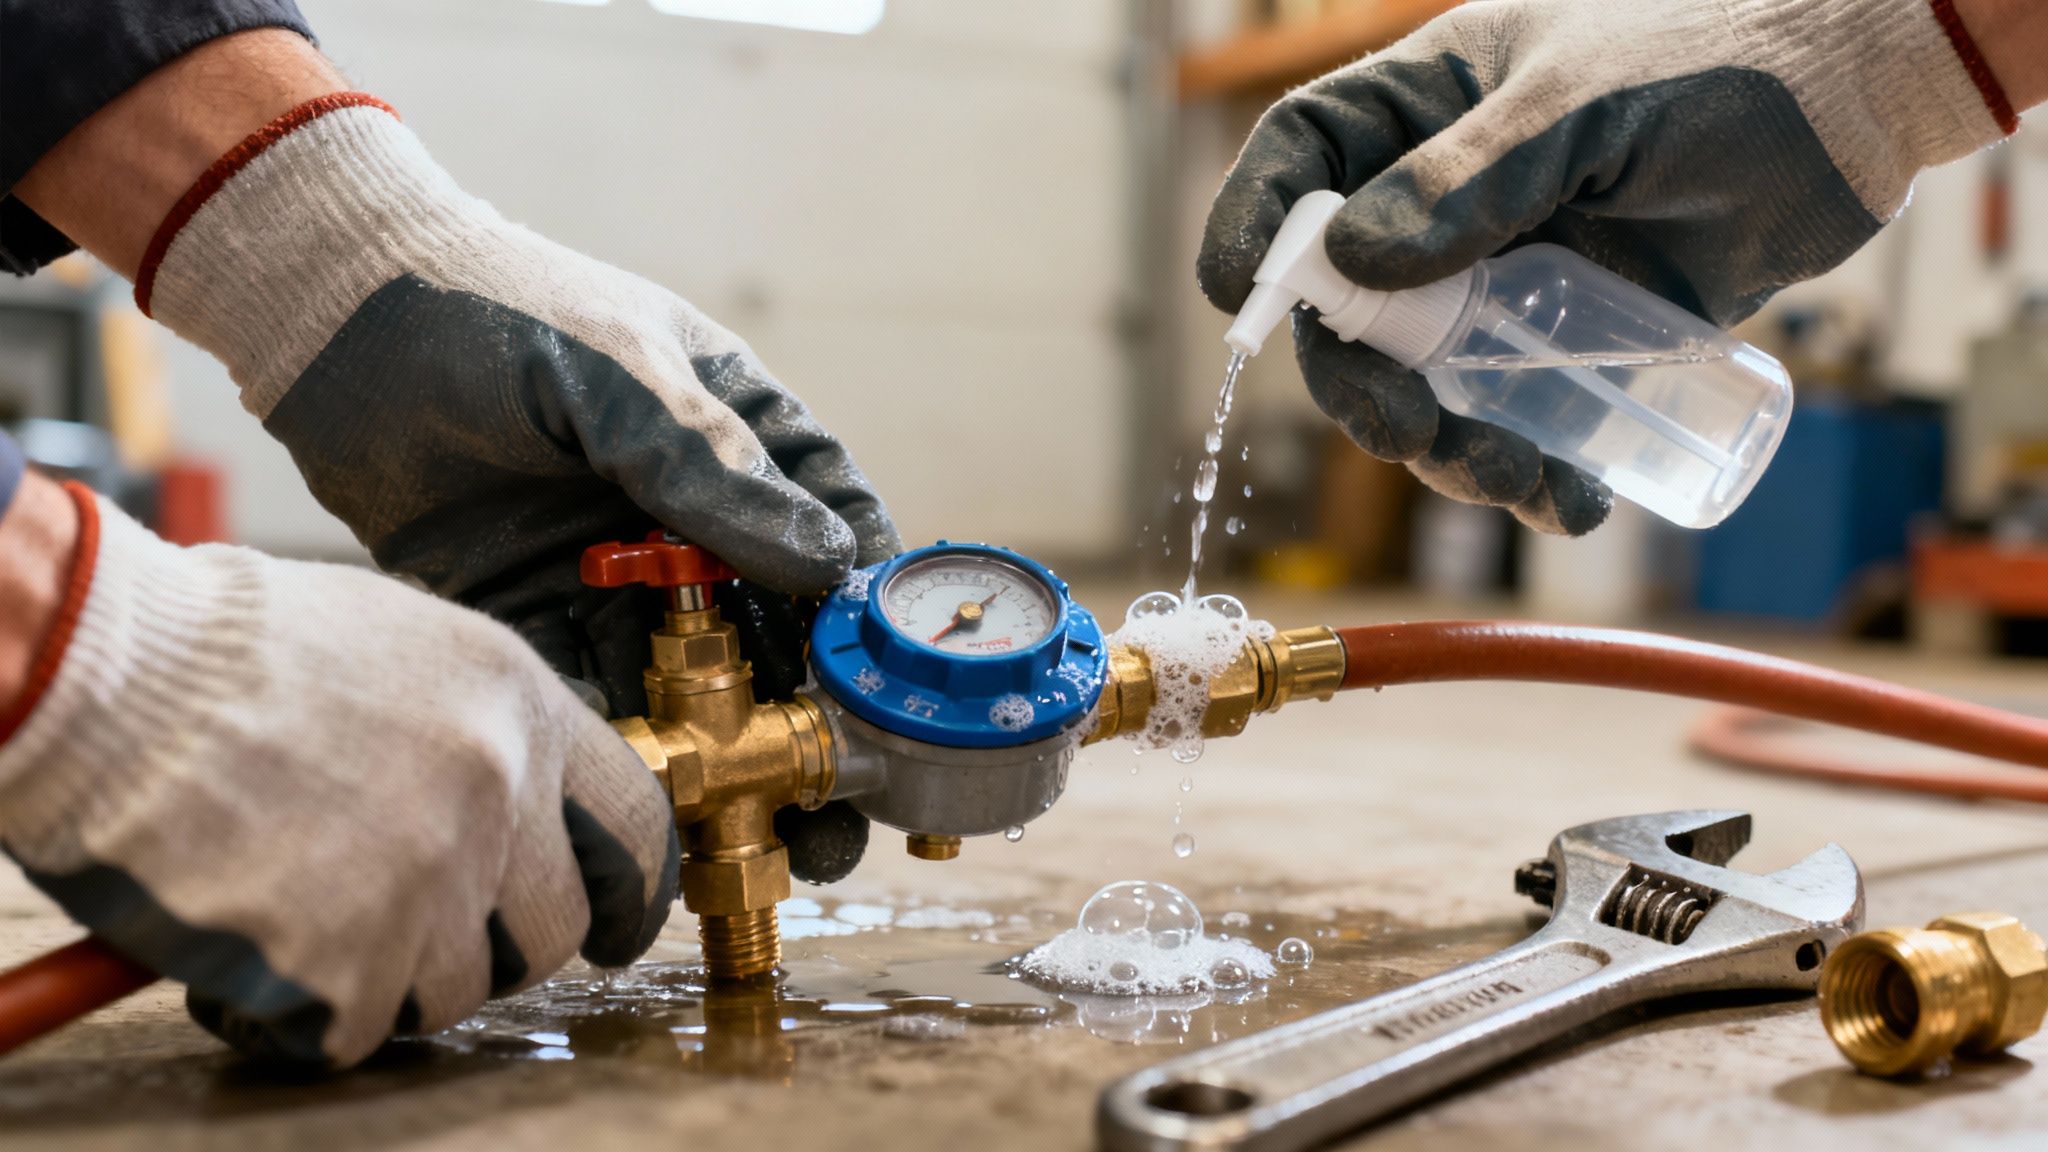
The Gold Standard Leak Test
Once every connection is tight, perform the soapy water test. It’s simple, non-negotiable, and highly effective.
Mix about one part dish soap to four parts water in a spray bottle. Turn the gas on at the main tank valve, then generously spray every connection you made, including:
- The connection at the back of the heater.
- Any joints or elbows in the gas line.
- The connection where the regulator attaches to the propane tank.
- Where the hose connects to the regulator.
Watch carefully. If you see bubbles forming—even tiny ones—you have a leak. Shut the gas off at the tank immediately. Undo the fitting, clean the threads, reapply sealant, and tighten it again. Do not proceed until every connection is bubble-free.
First Startup and Burner Test
After confirming a leak-free system, you’re ready for the first startup. This usually involves lighting a pilot light. Many heaters have a push-button piezo igniter and a control knob you press and hold to get gas flowing to the pilot.
Follow your manual’s instructions precisely. Once the pilot is lit and stable (typically after holding the knob for 30-60 seconds), turn the control knob to ignite the main burner. You should hear a soft “whoosh.”
Let the heater run on low for a few minutes. A faint smell is normal during this first burn-in period as factory oils burn off. This should disappear quickly. A healthy flame should be mostly blue with some yellow tips. A lazy, all-yellow, or sooty flame could indicate an issue with the fuel-to-air mixture or poor ventilation.
Getting to Know Your Outdoor and Portable Propane Heaters
While permanent wall heaters are a great set-it-and-forget-it solution, the flexibility of portable and outdoor propane heaters is undeniable. They can transform a chilly patio into a cozy retreat or make a drafty garage workable on a cold day. But this convenience comes with safety rules you can’t ignore.
These heaters are becoming increasingly popular. The global market for outdoor heating was valued at USD 1.33 billion and continues to grow, with propane models leading the way. You can read the full industry analysis from Fortune Business Insights for more details. This trend means more people need to know how to install propane heater units like these safely.
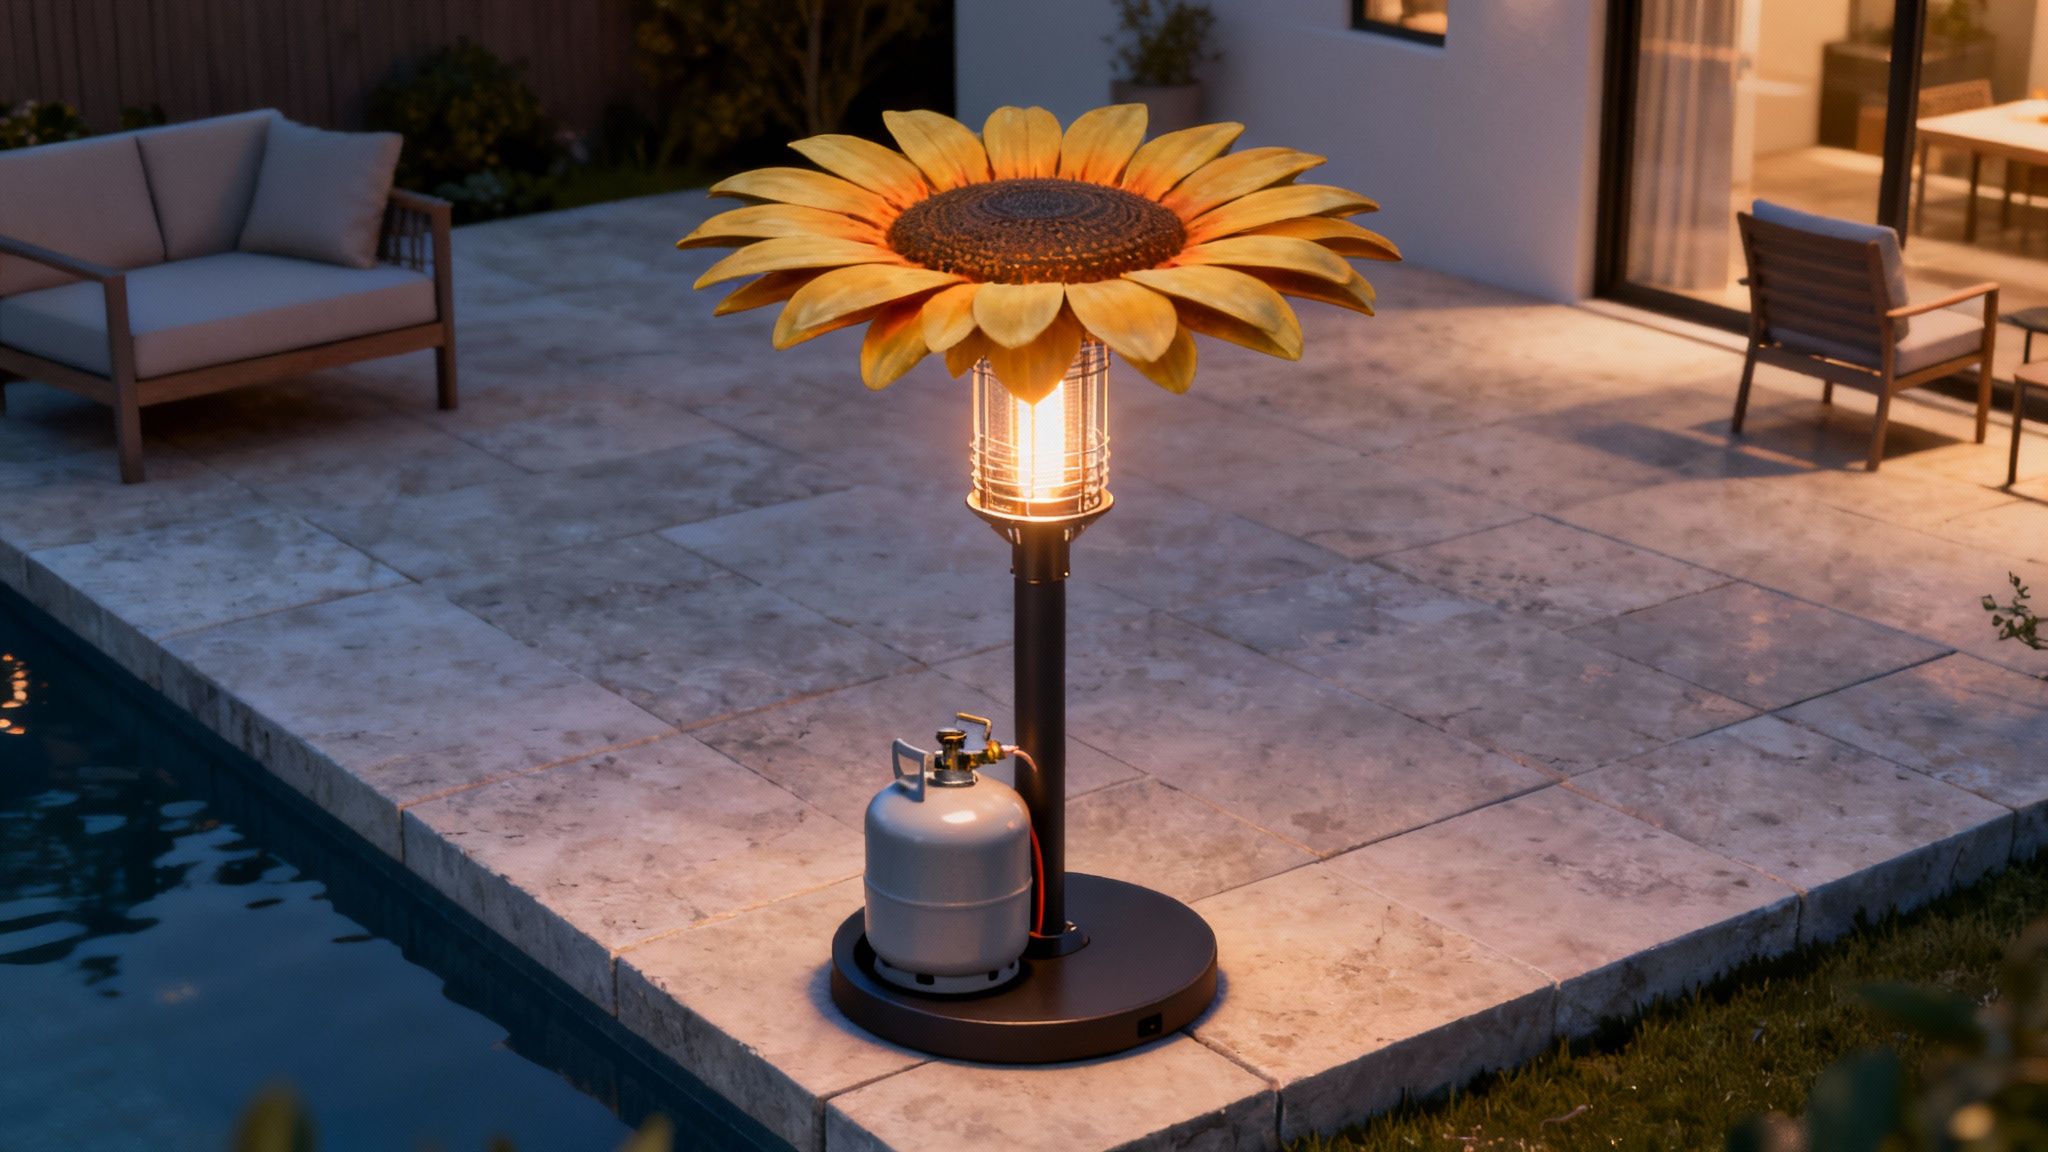
Assembling and Placing Patio Heaters
Patio heaters are generally easy to assemble. The real skill is in proper placement. Your top priority is stability.
Always set up your patio heater on a solid, level surface like a concrete slab or sturdy deck. A tipping hazard is the last thing you want near an open flame. Many models have a base you can fill with sand or water for added stability.
Clearance is also crucial. These heaters produce significant radiant heat.
- Overhead Clearance: Maintain at least 3 feet of open space between the top of the heater and any awnings, umbrellas, or roof overhangs.
- Side Clearance: Keep a similar 3-foot radius clear of furniture, plants, or walls.
If you’re still looking for the perfect model, our guide on the best outdoor patio heater reviews is a great resource.
Safely Using Portable Indoor Heaters
Smaller, portable propane heaters are excellent for workshops or power outages, but they must be specifically certified for indoor use. These models have critical safety features, like an Oxygen Depletion Sensor (ODS), that outdoor-only heaters lack.
Always check the packaging and manual for “indoor-safe” labeling. When using one, proper ventilation is non-negotiable. Cracking a window or door allows fresh air to circulate, preventing a dangerous buildup of carbon monoxide.
Safety First Checklist for Portable Heaters
Before starting a portable unit, run through this mental checklist: Is it on a stable, flat surface? Is it at least three feet from anything flammable? Is the room properly ventilated? Will I be in the room while it’s running? If the answer to any of these is no, do not turn it on.
Frequently Asked Questions (FAQs)
1. How do I clean and maintain my propane heater?
Regular maintenance is key. Before each season, inspect the hose and regulator for cracks or damage. Use a can of compressed air to gently blow out dust and debris from the burner assembly and pilot light area. For the exterior, simply wipe it down with a damp cloth. Always ensure the heater is completely cool and the propane tank is disconnected before cleaning.
2. Is a propane heater durable? What is it made of?
Most quality propane heaters are built to last. Brands like Mr. Heater and Dyna-Glo typically use high-grade steel for the body and a combination of stainless steel and ceramic for the burner elements to ensure longevity and efficient heat radiation. With proper care, a well-made propane heater can provide reliable service for many years.
3. What is the warranty like on a typical propane heater?
Warranties vary by brand and model, but a one-year limited warranty is standard for most portable and wall-mounted propane heaters. This usually covers defects in materials and workmanship. Always register your product after purchase and keep your receipt to make any potential warranty claims easier.
4. What size propane tank do I need?
For portable heaters, a 1 lb. disposable cylinder is convenient for short-term use, while a standard 20 lb. BBQ-style tank offers much longer run times. For permanent wall heaters, connecting to a larger residential propane tank (100 lbs. or more) is the most practical solution, providing a continuous fuel supply.
Conclusion: Making an Informed Decision
A propane heater from a reputable brand can be a fantastic addition to your home, offering powerful, efficient, and reliable warmth. By understanding the different types, carefully planning your installation, and prioritizing safety at every step, you can confidently enjoy the comfort it provides. Whether you choose a simple portable unit for occasional use or a permanently installed wall heater for consistent warmth, a safe and correct installation is the key to peace of mind.
For more in-depth guides and trustworthy reviews on everything from kitchenware to home heating solutions, the experts at Reva Housing provide practical, real-world advice to help you make confident decisions for your home. Discover your next great home product at https://revahousing.com.