


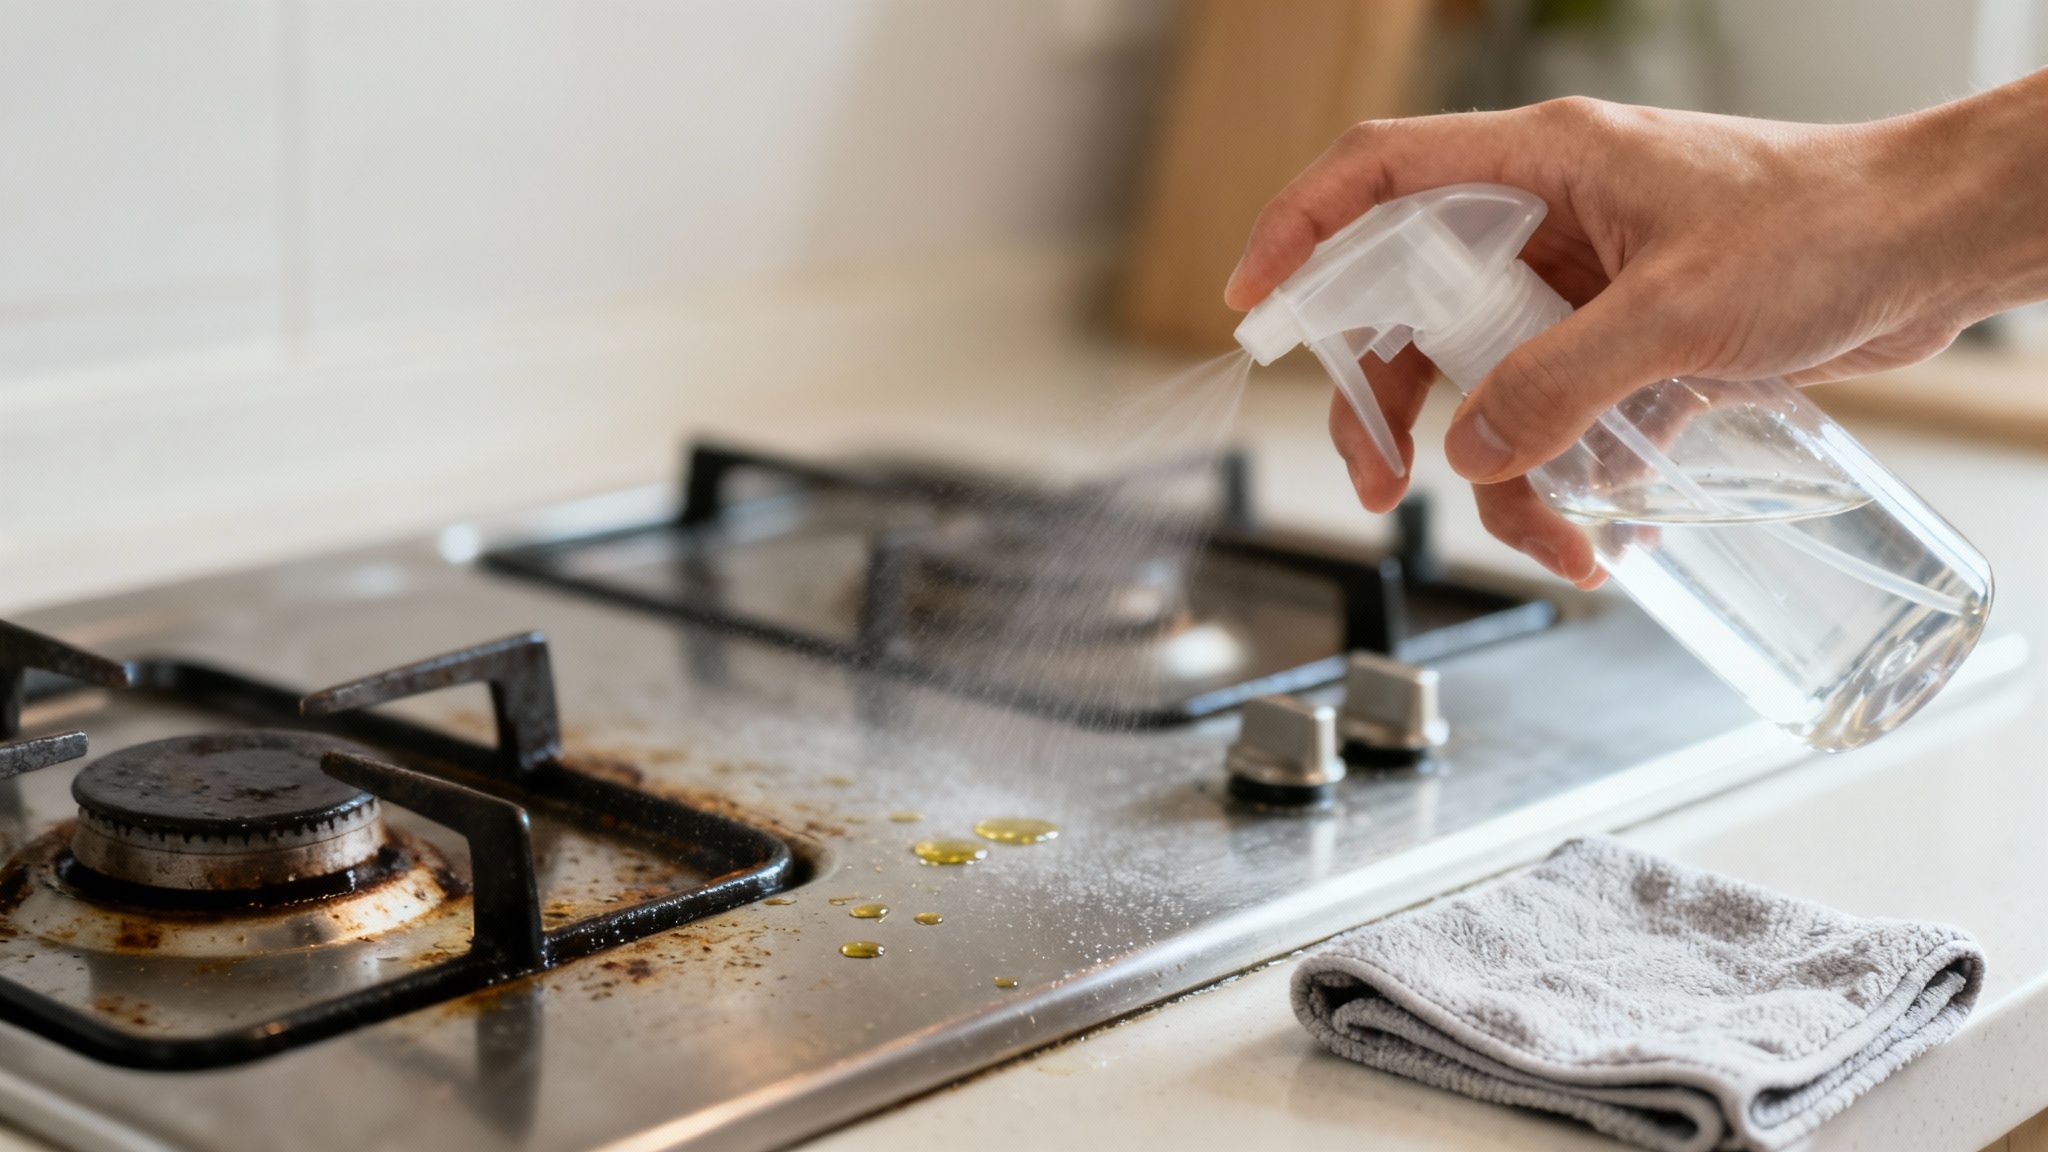
A greasy stove is more than just an eyesore; it’s a frustrating kitchen problem that can feel impossible to solve. For light, daily splatters, a quick spray of equal parts white vinegar and warm water often does the trick—just let it sit for five minutes before wiping. But for the tough, baked-on grime that plagues most kitchens, you’ll need a more targeted approach. The good news? The solution is probably already in your pantry. We’re going to move past the generic advice and get into the practical, tested methods that actually work, so you can learn how to clean a greasy stove for good.
Your Practical Guide to a Spotless Stove
Let’s be honest, a greasy stove is one of the most stubborn kitchen messes out there. This guide is your new game plan for cutting through that baked-on grime and oil splatter without the endless, soul-crushing scrubbing.
Think of this as a conversation with a friend who has already been through the trial-and-error of figuring out what gets that sparkling-clean finish. We’ll dive into specific strategies for every stove type—gas, electric, and glass—using both powerful DIY solutions and some smart commercial options when you need the heavy hitters.
The battle against kitchen grease is a universal one. The global market for kitchen grease cleaners was valued at around USD 2.1 billion in 2023 and is expected to climb to USD 3.8 billion by 2032. That’s a huge number, and it reflects a real shift toward prioritizing kitchen hygiene. Plus, regular grease removal can extend your stove’s life by up to 25%, which could save you hundreds on a replacement down the line. You can dig into more stats about the kitchen cleaning market over on dataintelo.com.
Stove Cleaning Methods At a Glance
Before we dive into the details, here’s a quick cheat sheet to help you choose the right approach for your stove.
| Cleaning Method | Best For | Effort Level | Key Ingredients |
|---|---|---|---|
| Vinegar & Water Spray | Light daily grease, surface wipe-downs | Low | White vinegar, warm water |
| Baking Soda Paste | Stubborn spots, baked-on food | Medium | Baking soda, water, dish soap |
| Boiling Water Soak | Grates and removable parts | Medium | Water |
| Commercial Degreaser | Heavy, old, polymerized grease | High | Chemical solvents |
This table should give you a starting point, but the real magic is in the technique, which we’ll cover for each stove type.
Why a Clean Stove Matters More Than You Think
A clean stove isn’t just about making your kitchen look good; it’s about performance and safety. When grease builds up, it can clog the ports on gas burners, leading to uneven flames and inefficient cooking. On electric and glass tops, that grease can turn into a stubborn, carbonized layer that feels impossible to remove.
Beyond just looking better, a well-maintained stove operates more efficiently and poses fewer fire risks. Taking a few minutes to clean up spills as they happen can save you hours of deep scrubbing later on.
This guide is designed to help you do a few key things:
- Identify the right tools for your specific stove without scratching or damaging the surface.
- Create effective DIY cleaners using simple, non-toxic household ingredients you probably already have.
- Master the techniques for different materials, from tricky stainless steel to delicate ceramic glass.
- Build simple habits that keep that nasty grease from building up in the first place.
Getting Your Greasy Stove Cleaning Kit Together
Before you even think about tackling that greasy stove, let’s talk about gear. Having the right tools on hand makes a world of difference—it’s the line between a quick, satisfying clean and an afternoon of frustrating scrubbing. This isn’t about buying a bunch of expensive gadgets, either. It’s about building a smart, simple kit that gets the job done right.
Think of it like being a chef doing their mise en place. When everything is ready and within arm’s reach, the whole process flows smoothly. No more stopping mid-scrub to hunt for a brush or a clean cloth.
Your Core Cleaning Tools
Chances are, you already own most of what you need. The real trick is knowing what to grab for which part of the job so you don’t accidentally scratch up your stove’s finish. Here’s the exact setup I rely on for a painless clean every time.
- Non-Abrasive Sponges: These are your go-to for pretty much any stove surface, from enamel to stainless steel. They’ve got just enough oomph to lift grime without leaving scratches behind.
- Microfiber Cloths: An absolute must. I keep two handy: one for wiping off the cleaning solution and a second, totally dry one for buffing everything to a streak-free shine at the end. It’s the secret to that brand-new look.
- A Soft-Bristled Brush: An old toothbrush is perfect for this. It’s the only way to really get into those annoying, tight spaces around the burners, behind the knobs, and along the control panel where grease loves to collect.
My Two Cents: Always, always test a new tool or cleaner on a small, hidden spot first. A quick check on the side or back of your stove can save you from a major headache, especially if you have a delicate glass cooktop or a fancy stainless steel finish.
Essential Supplies for Any Stove
With your main tools sorted, a few other basics will round out your kit and prepare you for whatever caked-on mess you find.
Here’s your must-have list:
- Protective Gloves: Seriously, don’t skip these. Degreasers and even DIY solutions can be really harsh on your skin. A good pair of rubber gloves is non-negotiable.
- Empty Spray Bottle: This is a game-changer for homemade cleaners, like a simple vinegar and water mix. You get a nice, even spray without wasting your solution.
- Small Bowl: Perfect for whipping up a thick baking soda paste. When you have those really stubborn, burnt-on spots, a concentrated paste is your best weapon.
With this simple arsenal, you’re ready to face down any greasy stove that comes your way.
Custom Cleaning Methods for Your Stove Type
Not all stoves are created equal, and what works wonders on a rugged gas grate could spell disaster for a sleek glass cooktop. This is where we get specific, tailoring the approach to your appliance. Using the right technique is absolutely critical to avoid scratches, discoloration, or damage to delicate components.
To help you grab the right tool for the job, this simple decision guide breaks down your choices based on whether you’re cleaning the surface, reaching into tight spots, or polishing for that final shine.

The main takeaway here is to match your tool to the task—a sponge for general surfaces, a brush for detail work, and a microfiber cloth for that final, perfect polish.
Cleaning a Glass or Ceramic Stovetop
Glass and ceramic cooktops offer a modern, seamless look, but they are notoriously unforgiving when it comes to scratches. The absolute golden rule here is to avoid abrasive materials at all costs. This means no steel wool, harsh scouring pads, or gritty cleaners.
Your best friend for this job is a simple baking soda paste.
- Make the Paste: In a small bowl, mix about a half-cup of baking soda with just enough warm water to form a thick, spreadable paste. Think frosting consistency. For some extra degreasing muscle, add a few drops of dish soap.
- Apply and Wait: Spread this paste evenly over the greasy, burnt-on spots of your cool stovetop. Let it sit for at least 15-20 minutes. This dwell time is crucial; it lets the alkaline baking soda break down the acidic food and grease particles.
- Wipe Gently: Grab a non-abrasive sponge or a damp microfiber cloth and gently wipe away the paste in circular motions. The grime should lift with minimal effort. For any stubborn bits left behind, a plastic scraper or an old gift card held at a 45-degree angle works wonders without scratching the glass.
Finish by spritzing the surface with a 1:1 mix of white vinegar and water, then buff it dry with a clean microfiber cloth for a streak-free shine.
Tackling a Greasy Gas Stove
Gas stoves present a whole different challenge. With their grates, burner caps, and crevices, grease has endless places to hide. The process is more about disassembly and soaking than gentle surface wiping. Always make sure the stove is completely cool and the gas is off before you start.
The most effective method I’ve found is a good old-fashioned hot water soak.
First, carefully remove the grates and burner caps. Pop them into an empty sink or a large basin.
Next, sprinkle them liberally with baking soda and a generous squirt of a strong degreasing dish soap, like Dawn.
Now for the magic. Carefully pour boiling water over the parts until they’re fully submerged. Let them soak for at least 30 minutes, or even longer if the buildup is bad. This hot, soapy bath will dissolve the polymerized grease that seems impossible to scrub off.
While the parts are soaking, you can clean the stovetop itself. Use your baking soda paste or a degreasing spray to wipe down the surface, paying close attention to the areas around the burner assemblies. An old toothbrush is perfect for getting into all the nooks and crannies.
After soaking, a quick scrub with a non-abrasive brush should remove any remaining gunk from the grates and caps. Rinse them thoroughly, dry them completely, and then reassemble your stove.
Cleaning Electric Coil Stoves
Electric coil stoves are the durable workhorses of the kitchen, but their drip pans are absolute magnets for grease and spills. Cleaning them effectively can make the whole appliance look brand new.
First, unplug the coils and make sure they are completely cool. Most coils can be gently lifted and removed from their connection port. Just wipe the coils themselves with a damp cloth—never submerge them in water.
For the drip pans, the same soaking method we used for gas grates works perfectly. Submerge them in hot, soapy water and let them sit before scrubbing. If they’re beyond saving, don’t sweat it. Replacement drip pans are inexpensive and easy to find at most hardware stores.
For homes with a lot of stainless steel, many of these same principles apply. But for a deeper dive into maintaining that specific finish, you might be interested in our dedicated guide on how to clean stainless steel, which covers techniques for avoiding streaks and protecting the surface.
DIY vs. Commercial Cleaners: Which One Should You Grab?
Walking down the cleaning aisle can be just as overwhelming as trying to figure out the right ratio of vinegar to water for a homemade spray. When you’re staring down a greasy stove, the big question is always: do I mix something up myself, or do I grab the heavy-duty stuff from under the sink?
Honestly, there’s a time and a place for both. Each has its own strengths, and a well-stocked cleaning caddy probably has both.
For the daily splatters and light grease that come from a typical weeknight dinner, a simple homemade cleaner is usually all you need. Solutions made from kitchen staples you already have—like baking soda, white vinegar, and a good dish soap—are cheap, effective, and you know exactly what’s in them.
This back-to-basics approach is getting more and more popular. A greasy stove isn’t just ugly; it’s a hygiene issue, which helps explain why the kitchen degreaser market is booming. It was a USD 1.5 billion industry in 2022 and is expected to nearly double to USD 2.8 billion by 2030. A huge chunk of that growth comes from eco-conscious buyers, with 55% now choosing biodegradable options that feel a lot closer to the spirit of DIY. You can dig into the numbers in the full report from Verified Market Reports.
The Power of Homemade Solutions
The real magic of a DIY cleaner is its simplicity. You don’t need a hazmat suit to tackle the grease from last night’s bacon. A simple paste or a quick spray can cut through fresh grime with surprising power.
My Go-To All-Purpose Degreasing Spray:
- Combine: Mix one part white vinegar with one part hot water in a spray bottle.
- Add a Boost: Squeeze in a teaspoon of a solid degreasing dish soap (Dawn is the classic for a reason).
- Shake Gently: Give it a little swirl to mix, but don’t go crazy or you’ll have a bottle full of suds.
This spray is my workhorse for daily wipe-downs on almost any stovetop, though you’ll want to avoid it on natural stone surfaces. The vinegar gets to work dissolving the grease, and the soap helps lift it right off.
When to Bring in the Big Guns
While DIY recipes are fantastic for everyday maintenance, some jobs just need more firepower. I’m talking about that old, sticky, brownish film that seems to have fused itself to the metal. That’s polymerized grease, and it’s a whole different beast. It’s undergone a chemical change, making it incredibly resistant to gentle, everyday cleaners.
When you’re up against layers of old, baked-on gunk, a specialized commercial degreaser is your best friend. It can save you hours of scrubbing and a whole lot of frustration. These products are packed with powerful solvents designed specifically to break down those stubborn, polymerized oils.
When you’re picking out a commercial product, take a second to read the label. It matters.
- Check Surface Compatibility: Make sure the cleaner is safe for your stove’s finish. What works on stainless steel might wreck an enamel top.
- Look for Fume-Free Formulas: A lot of modern degreasers are much less harsh than they used to be, so you don’t have to open every window in the house to use them.
- Seek Out “Heavy-Duty” Labels: For the really tough jobs, don’t be shy. Grab the bottle that’s clearly marketed for heavy grease or burnt-on food.
In the end, it’s not about picking one side. The smartest approach is a balanced one. Use your homemade spray for the daily upkeep to keep things from getting out of hand, and keep a trusted commercial degreaser stashed away for those deep-cleaning sessions. That way, you’re ready for whatever mess comes your way.
Smart Habits for a Permanently Clean Stove
Let’s be honest, nobody enjoys spending an afternoon scrubbing a greasy stove. The real secret to a sparkling kitchen isn’t some miracle cleaning product—it’s making those deep cleans a thing of the past.
By adopting a few simple, proactive habits, you can turn your stove from a greasy battleground into a surface that’s always ready for its close-up. It all comes down to small, immediate actions that stop grease from ever getting a chance to bake on. These aren’t huge time-sucks; they’re minor tweaks to your cooking routine that save you hours of elbow grease down the road.
Embrace the Clean-As-You-Go Mindset
The single most powerful habit you can build is to deal with messes the moment they happen. A quick wipe after dinner is infinitely easier than chiseling off something that’s been fossilizing for a week.
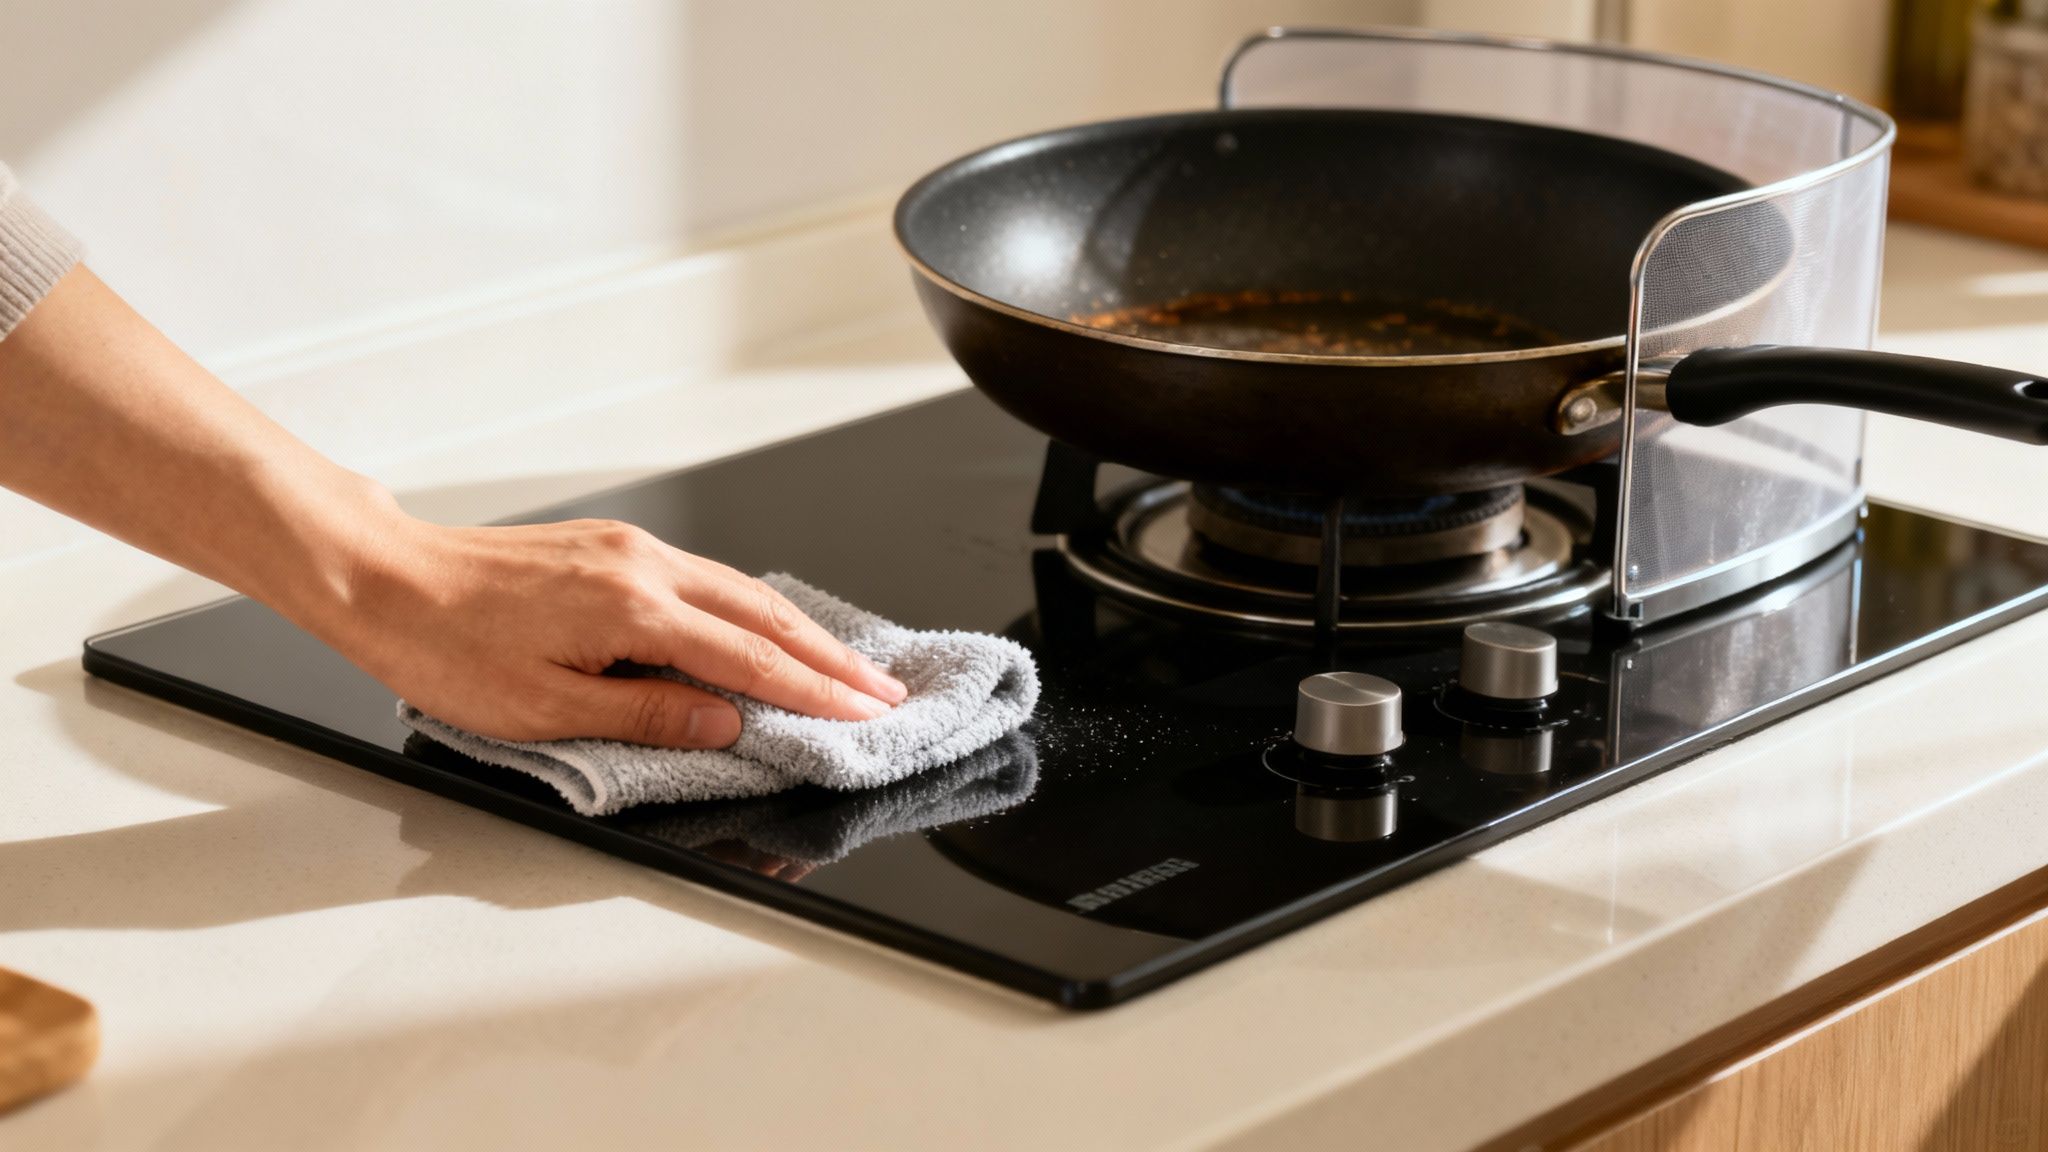
Once your stove has cooled down enough to be safe, grab a damp microfiber cloth and wipe up any splatters. This literally takes seconds, but it’s a game-changer. It stops the grease from polymerizing—that’s the chemical process that turns it into that tough, sticky varnish that’s so hard to remove.
Another lifesaver, especially if you do a lot of frying, is a splatter guard. This simple mesh screen sits right on top of your pan and contains the vast majority of those little oil pops, keeping your cooktop (and your backsplash) remarkably clean.
Your Five-Minute Weekly Wipe-Down Routine
Consistency is your best friend in the fight against grime. Setting aside just a few minutes once a week prevents that slow, sneaky buildup that eventually becomes a major cleaning project. This isn’t a deep scrub; think of it as light maintenance.
Here’s a simple but effective weekly plan:
- Pop and Soak the Knobs: If your stove knobs come off, pull them off and drop them in a bowl of hot, soapy water to soak while you work.
- Give it a Quick Spray: Lightly mist the cooktop with a 1:1 mix of white vinegar and warm water. Let it sit for a minute or two to start breaking down any light grease.
- Wipe and Buff: Use a clean, damp cloth to wipe down the entire surface. Follow up with a dry cloth to buff away any streaks.
- Scrub and Replace: Give the soaking knobs a quick scrub with a soft brush, dry them thoroughly, and pop them back on.
This whole process takes less time than a TV commercial break and keeps your stove looking brand new. Don’t forget that good ventilation is your partner in crime here. Proper airflow from a range hood can dramatically reduce the amount of airborne grease that settles on your surfaces in the first place. You can learn more about installing a vent hood and see what a difference it makes.
Stovetop grease is a sneaky problem, quietly building up in an estimated 85% of kitchens. Food safety data shows that bacterial growth on a dirty stove can spike by 400% in just 48 hours. A simple trick—heating vinegar, spraying it on the stove, and covering it with a towel for 30 minutes—can dissolve up to 88% of grease without any scrubbing. You can find more insights into the global grease market and its impact on homes.
Common Questions About Cleaning Greasy Stoves
Even with the best instructions, you’re bound to run into a few head-scratchers when you’re face-to-face with a truly grimy stove. I get it. Over the years, I’ve heard just about every question there is, so let’s tackle a few of the most common ones right now.
Think of this as your troubleshooting guide for those last few stubborn spots or mysterious issues that pop up. From weird streaks to lingering smells, sometimes getting that perfect finish takes a little extra know-how.
How can I get rid of streaks on my glass cooktop?
Ah, the dreaded streaks on a glass or ceramic stovetop. It’s incredibly common, and thankfully, the fix is usually pretty simple. This almost always comes down to one of two things: leftover residue from your cleaner or mineral deposits left behind by hard water.
The secret weapon here is a final pass with something acidic. After you’ve gotten all the grease and grime off, give this a try:
- Mix up a simple spray. Grab a spray bottle and fill it with one part white vinegar and one part distilled water. Using distilled water is the key here—it has no minerals, so it can’t leave any spots behind.
- Give the cooktop a light misting with your vinegar solution. You don’t need to soak it.
- Wipe and buff it dry immediately with a clean, dry microfiber cloth. Use big, sweeping motions. The microfiber will grab any leftover film and leave you with a polished, streak-free shine.
That final buffing step makes all the difference. If you’re dealing with similar buildup elsewhere in your kitchen, our guide on how to remove hard water stains has some great tips that work here, too.
Is it safe to clean around gas igniters?
Absolutely, but you need to be careful. That little white ceramic nub next to your burner is the igniter, and it’s more delicate than it looks. Scrubbing it too hard or drenching it in liquid can easily cause it to crack or fail, which means your burner won’t light anymore.
To clean around the igniter safely, an old, soft-bristled toothbrush is your best friend. Barely dip it in your cleaning solution (don’t soak it) and gently work around the base of the igniter. Then, use a damp cloth to wipe the gunk away, making sure no liquid pools around the ceramic part. Never spray cleaner directly onto the igniter itself.
What causes that lingering burnt grease smell?
You’ve cleaned the stove, it looks spotless, but the second you turn on a burner, you get that awful burnt grease smell. Sound familiar? The culprit is almost always hidden grease. Tiny splatters have a knack for getting underneath the cooktop surface or into the burner assembly where you can’t see them.
When the stove heats up, that hidden grease starts to burn off, creating the smell. To truly get rid of it, you might need to do a deeper clean by lifting the main cooktop (on models that allow it) to get underneath. For gas stoves, double-check that the burner caps are sitting perfectly flat after you clean them. If they’re misaligned, it can cause an inefficient burn and some funky odors. The best prevention, though, is just regular, thorough cleaning.