


For most projects, the best cabinet paint is a waterborne alkyd enamel. Think of it as the ultimate hybrid—it gives you the rock-hard, super durable finish you’d expect from old-school oil paint, but with the easy, water-based cleanup and low fumes of a modern latex. It’s the go-to choice for a reason.
Your Guide to Choosing Cabinet Paint
Giving your kitchen cabinets a fresh coat of paint is one of the most transformative DIY projects you can tackle. Walk into any paint aisle, though, and the sheer number of options can feel completely overwhelming. The secret to a professional-looking, long-lasting finish isn’t just about picking the perfect color; it’s about choosing the right paint chemistry for the job.
This guide is your cheat sheet to making a smart decision. We’ll break down the three main types of cabinet paint so you can see which one actually fits your kitchen’s needs, your skill level, and your timeline. Getting a handle on these core differences is the first step toward a flawless finish you’ll be proud of for years.
Comparing Your Paint Options
To make things simple, this decision tree lays out the key differences between the top three paint chemistries you’ll encounter.
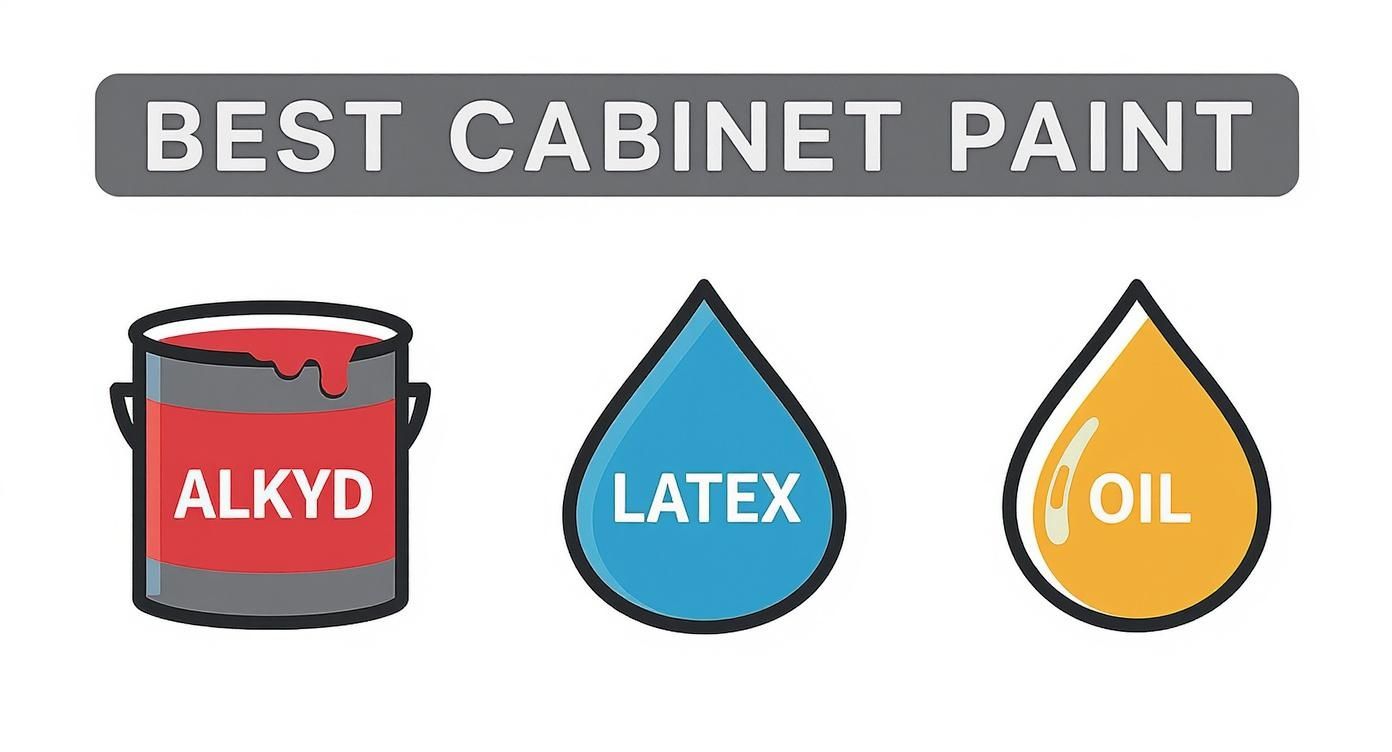
As you can see, waterborne alkyd really hits that sweet spot, borrowing the best traits from both latex and oil-based paints. This makes it the most balanced and practical choice for most homeowners.
Cabinet Paint Types at a Glance
If you’re trying to wrap your head around the options, this table offers a quick comparison to help you narrow down your choice based on what matters most for your project.
| Paint Type | Best For | Durability | Ease of Use | Clean-up | Dry Time |
|---|---|---|---|---|---|
| Waterborne Alkyd | DIYers seeking a durable, professional finish with low VOCs. | Excellent | High | Soap & Water | 24-48 hours |
| Acrylic Latex | Budget-friendly projects and beginners needing a forgiving paint. | Good | Very High | Soap & Water | 4-6 hours |
| Oil-Based | High-traffic areas where maximum durability is the top priority. | Superior | Low | Mineral Spirits | 48-72 hours |
Ultimately, picking the right cabinet paint is all about balancing performance with practicality. While oil-based paints offer unmatched hardness, the difficult cleanup and intense fumes make them a tough sell for most home projects. Acrylic latex is super user-friendly but just doesn’t have the muscle to withstand the daily abuse kitchen cabinets endure.
This is exactly why waterborne alkyds have become the gold standard, giving both homeowners and seasoned pros the best of both worlds.
So, What Actually Makes Cabinet Paint Different?
Ever stand in the paint aisle, staring at a can of cabinet paint next to regular wall paint, and wonder if it’s all just a marketing gimmick? Can’t you just use that leftover gallon of eggshell from the living room project?
I get it. But the short answer is no, and the reason goes way deeper than just the label. The best cabinet paint is engineered from the ground up to survive a completely different kind of life—one filled with slamming doors, greasy splatters, and constant scrubbing.
Think of paint as a simple recipe: pigment (the color) and a binder (the glue that holds it all together and sticks it to the surface). Wall paint uses a softer, more flexible binder. It’s perfect for a static surface like drywall because it can breathe, expanding and contracting with temperature changes without cracking. But that flexibility is its greatest weakness in a high-traffic kitchen.
Cabinet paint, on the other hand, is all about creating a hard, protective shell. It’s less like a coat of paint and more like a coat of armor.
The Secret is in the Cure
The real magic isn’t just in the ingredients, but in how the paint dries. Standard latex wall paint just… dries. The water evaporates, leaving behind a relatively soft film of pigment and binder.
High-quality cabinet paint, especially a modern waterborne alkyd, does something far more complex. It undergoes a chemical process called cross-linking. As it cures, its molecules don’t just sit next to each other; they chemically bond, linking together to form a tight, interwoven grid.
Imagine the difference between a pile of loose chains (that’s your wall paint) and a securely welded chain-link fence (that’s your cabinet paint). You can easily push your finger through the pile of chains. But that welded fence? It’s a rigid, durable barrier. This molecular structure is what gives good cabinet paint its signature hardness and legendary scrub resistance.
Cabinet paint isn’t just a thicker version of wall paint; it’s a different technology entirely. Its ability to cure into a hardened, enamel-like surface is what allows it to shrug off chips, scratches, and stains from cooking grease and sticky fingers.
This is exactly why a kitchen painted with the right stuff can look pristine for years, while one done with wall paint starts looking grimy and worn out in a matter of months. The market has definitely noticed this shift toward tougher coatings.
The global paints and coatings market hit roughly USD 211.28 billion in 2024, with waterborne coatings grabbing a massive 40.8% share of that. This isn’t just industry jargon; it shows a huge demand for durable, safer options like waterborne alkyds that give pro-level results without the nasty VOCs. If you’re curious, you can explore more market trends for paints and coatings to see just how big this movement is.
Understanding Key Paint Chemistries
Not all cabinet paints get to that rock-hard finish the same way. The chemistry inside the can dictates everything from how it feels going on the cabinet to how it performs a decade later. Let’s break down the three main players you’ll see on the shelves.
1. Waterborne Alkyd Enamels
This is the modern champion of cabinet painting, and for good reason. It’s a hybrid that truly combines the best of both worlds: you get the extreme durability and buttery-smooth, self-leveling finish of old-school oil paint, but with the easy soap-and-water cleanup and low odor of a water-based latex. It flows out beautifully, which helps hide those pesky brush and roller marks.
2. 100% Acrylic Latex Enamels
While not quite as tough as a waterborne alkyd, a premium acrylic latex is still a fantastic, DIY-friendly option. These paints are a bit more forgiving to apply and dry much faster, which can be a huge plus. The trade-off is that their finish stays slightly more flexible, making them a little more prone to scuffs and dings over the long haul compared to a true alkyd.
3. Traditional Oil-Based Alkyds
For decades, oil-based paint was the undisputed king of durability. It cures into an incredibly hard, glossy finish that is nearly indestructible. However, the heavy-duty downsides—powerful fumes, painfully long dry times, and needing mineral spirits for cleanup—have pushed it out of favor for most interior home projects today.
Choosing the right cabinet paint is all about understanding these trade-offs. For the vast majority of kitchen remodels, the balanced performance of a waterborne alkyd offers the perfect sweet spot: professional-grade durability that’s actually user-friendly enough for a weekend project. It’s the surest way to make sure all your hard work pays off with a finish that’s both beautiful and built to last.
Choosing a Sheen That Hides Flaws and Lasts
Alright, you’ve wrestled with paint chemistries and picked a winner. Now for the next big decision: the sheen. This is way more than a style choice—it’s a strategic move that determines how your cabinets look, feel, and survive the daily chaos of a real kitchen. Get it right, and you can hide minor flaws and make cleaning a non-issue. Get it wrong, and you’ll highlight every single imperfection and create a maintenance nightmare.
Think of paint sheen as the protective force field for your cabinets. Every level of gloss offers a unique balance between toughness and appearance, running the gamut from completely flat to almost mirror-like.
On one end of the spectrum, you have a high-gloss finish. Picture a slick, glassy shield over your cabinet doors. It’s incredibly tough and ridiculously easy to wipe down. But here’s the catch: its intense reflection acts like a spotlight, showcasing every tiny dent, ding, and brushstroke.
At the other end is a matte or flat finish. This one’s like a soft, velvety cloak. It soaks up light beautifully and does a fantastic job hiding surface imperfections. The downside is that its porous texture is a magnet for dirt and stains, making it nearly impossible to scrub without ruining the finish.
Finding the Sweet Spot: Satin vs. Semi-Gloss
For a high-traffic, high-impact zone like a kitchen, nearly every pro and seasoned DIYer will tell you to aim for the middle of the sheen spectrum. The debate almost always boils down to two heavy hitters: satin and semi-gloss. Both options hit that perfect sweet spot, giving you a durable, cleanable surface that still looks sophisticated and forgiving.
Your cabinet’s sheen is a functional choice, not just a decorative one. The goal is to select a finish that offers maximum washability for a high-use area without turning your cabinet doors into mirrors that expose every imperfection.
To make the right call for your project, let’s get into the practical differences. The sheen you choose will directly affect how your cabinets stand up to everything from spaghetti sauce splatters to greasy fingerprints, all while looking great next to your styles of modern kitchenware and decor.
A Practical Comparison
Understanding the subtle but critical distinctions between these two popular sheens is the key to a finish you’ll be happy with for years.
- Satin Finish: This offers a gentle, low-luster glow that feels both modern and elegant. It’s a step up in durability from matte or eggshell but has less shine than semi-gloss, which makes it great at concealing minor surface flaws. It’s the go-to for many designers who want that understated, soft look.
- Semi-Gloss Finish: With a more noticeable shine, this finish delivers superior resistance to moisture and stains. It’s a true workhorse, exceptionally durable and easy to scrub clean, making it a favorite for kitchens and bathrooms. The trade-off is that its higher reflectivity will make imperfections more visible than a satin finish would.
For most projects, satin is often the more forgiving option, especially for DIY painters, because its lower sheen helps mask slight errors in application. But if your number one priority is an indestructible, easy-to-clean surface, semi-gloss is the undisputed champ. It’s the best cabinet paint sheen for busy families or anyone who knows their cabinets are in for frequent, and sometimes aggressive, cleaning.
Why Your Prep Work Matters More Than Your Paint
Here’s a hard truth about getting that flawless, factory-like finish: even the most expensive, top-shelf cabinet paint will fail if you skimp on the prep work. The real magic, the secret sauce to a durable and professional-looking job, happens long before you even pry open a paint can.
Think of it less as a chore and more as laying the perfect foundation. Trying to paint over a dirty, slick surface is like building a house on sand. No matter how incredible the house is, the ground will shift, and cracks will appear. The same thing happens with your cabinets; the best paint in the world needs a perfectly prepped surface to grab onto.
Your Prep Work Boot Camp
Proper prep isn’t just wiping off a little dust. It’s a systematic process that removes years of invisible grime and creates a surface that’s hungry for paint. Each of these steps is non-negotiable if you want the job to last.
1. The Deep Clean Degreasing
Kitchens are ground zero for grease. Every time you fry bacon or sauté veggies, tiny oil particles float through the air and settle on your cabinets, creating an invisible, slick film that paint absolutely hates.
Regular soap and water just won’t cut it. You need a dedicated degreaser like TSP (Trisodium Phosphate) or a modern TSP substitute to chemically break down those oils. This step ensures your primer has something clean to stick to, not a greasy mess it will just slide off of.
2. The Strategic Scuff Sanding
Sanding isn’t about stripping the cabinets down to bare wood. The goal here is to “scuff” the existing finish.
Imagine trying to glue two smooth pieces of glass together—they’d just peel apart. Now, imagine gluing two pieces of sandpaper together. That bond is going to be incredibly strong. Using 120- to 220-grit sandpaper, you’re creating thousands of microscopic peaks and valleys, giving the primer countless little anchor points to grip. This creates a powerful mechanical bond that fights off peeling and chipping for years.
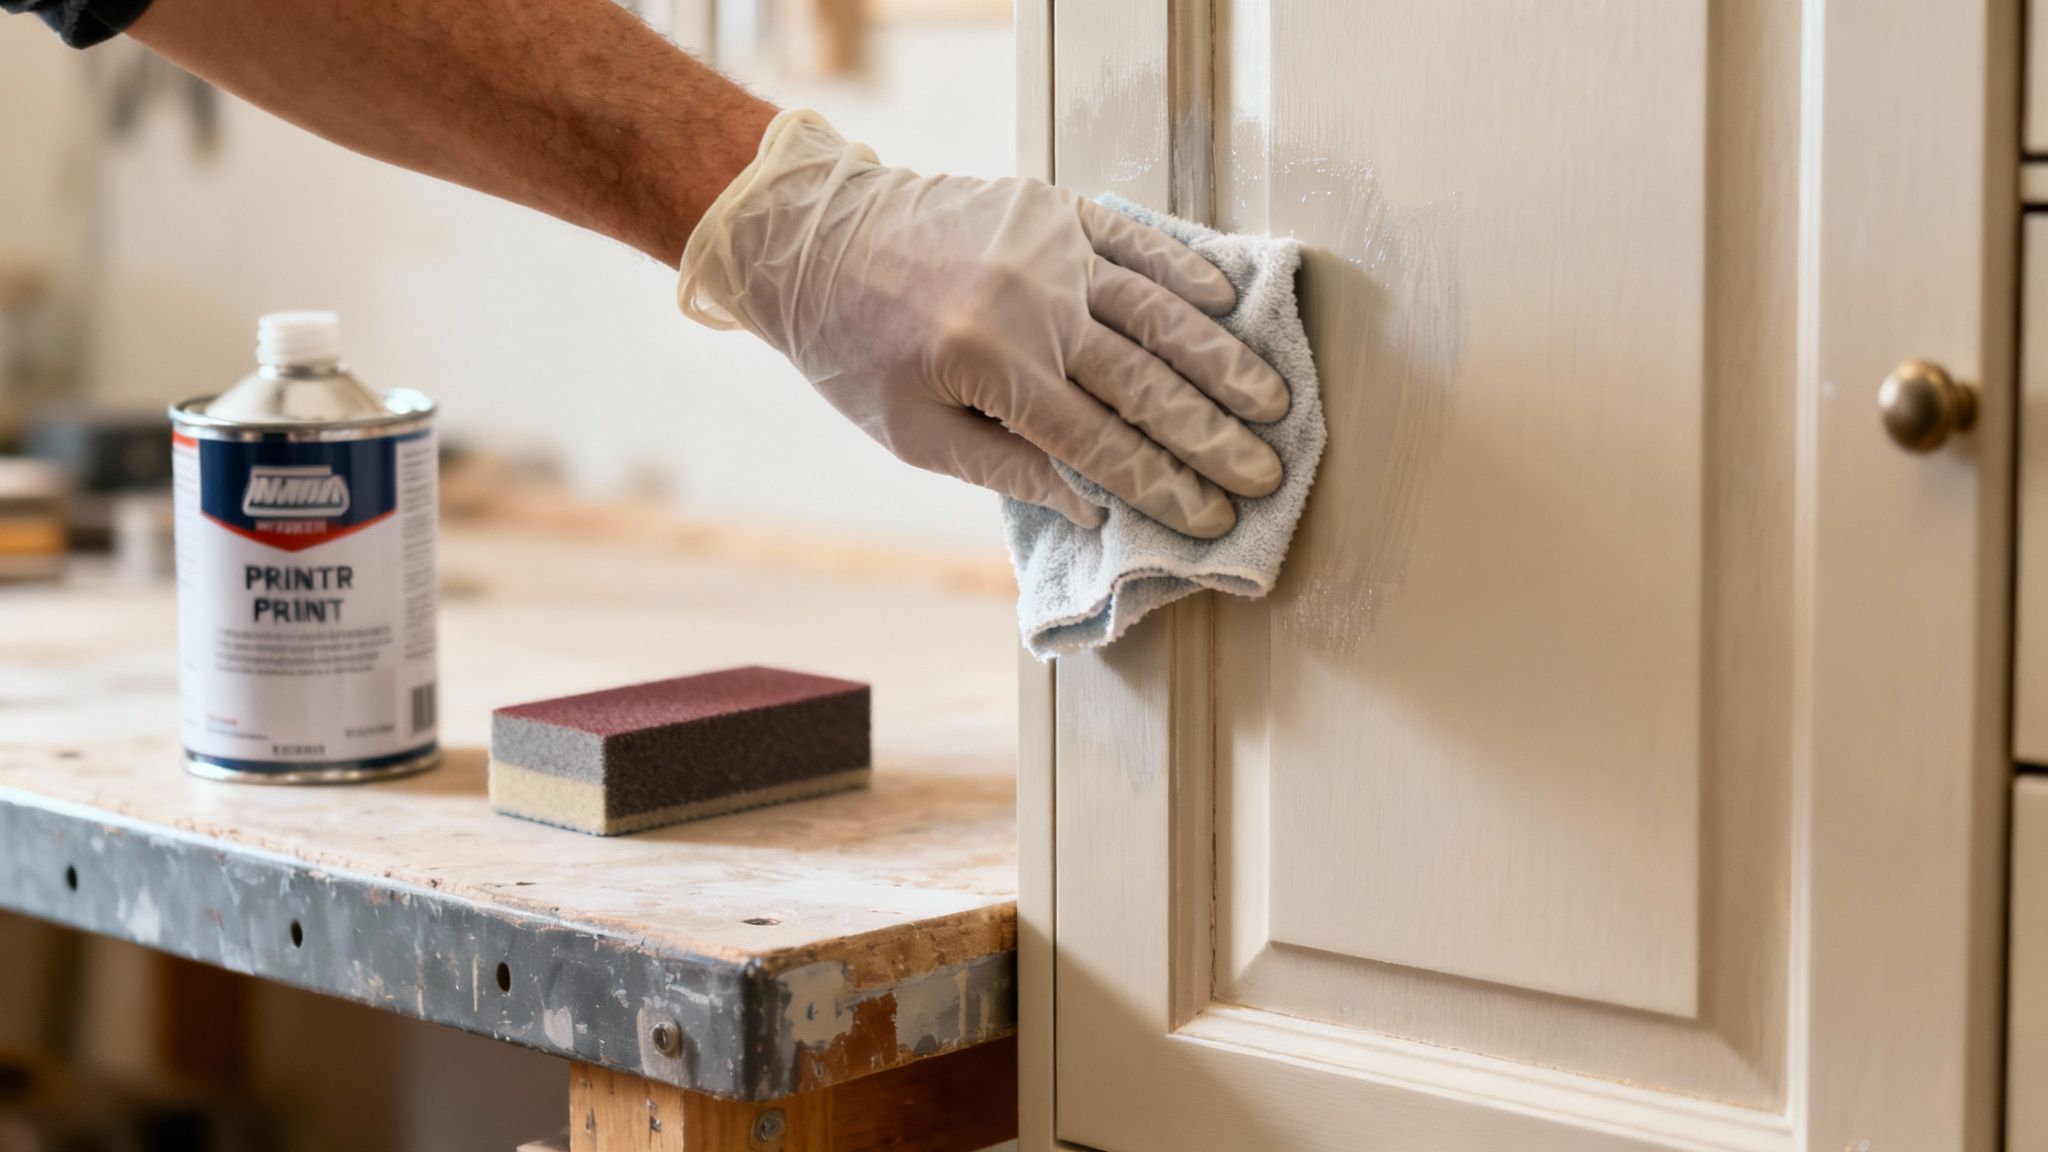
3. The Crucial Final Wipe-Down
After all that sanding, your cabinets will be covered in fine dust. Trying to paint over this is like painting on a layer of powder—it’s a recipe for disaster.
Use a tack cloth or a lightly dampened microfiber cloth to meticulously wipe down every single surface one last time. This ensures your primer sticks to the cabinet, not to a loose layer of dust.
Proper prep is the difference between a paint job that looks stunning for a decade and one that starts peeling in six months. It’s not the glamorous part of the project, but it is unequivocally the most important.
Demystifying the Primer Puzzle
Primer is the unsung hero of cabinet painting. It’s the critical bridge connecting the old surface to the new paint, solving problems that paint alone simply can’t handle. But not all primers are created equal, and choosing the right one is like picking the right tool for the job.
Your two main choices are oil-based or water-based primers, and they each have very different strengths.
- Oil-Based Stain-Blocking Primer: This is your heavy-duty problem solver. If you’re painting dark wood cabinets (especially oak or cherry), have knots that tend to bleed through, or are covering old stains, an oil-based primer is your best friend. It creates an bulletproof barrier that seals in wood tannins and stops them from leaching into your beautiful new paint color.
- Water-Based Bonding Primer: For cabinets that are already painted or have a simple, stable finish, a high-quality water-based bonding primer is an excellent choice. It offers fantastic adhesion, has a much lower odor, and cleans up with just soap and water, all while providing a solid foundation for your topcoat.
Making the right choice here is absolutely critical. Slapping a water-based primer on a heavy-bleed wood like knotty pine is a fast track to frustration, as those yellow and brown stains will almost certainly reappear. On the other hand, dealing with the intense fumes and messy cleanup of an oil-based primer is probably overkill for a simple repaint. Understand what each primer is designed for, and you’ll guarantee a smooth, uniform finish that lasts.
Top Cabinet Paint Brands the Pros Actually Use
Alright, let’s move from the science lab to the paint aisle. Understanding the difference between a waterborne alkyd and latex is one thing, but knowing exactly which can to grab off the shelf is where the rubber meets the road. This is where theory gets real.
We’re going to break down the specific, trusted products that deliver those professional-grade results you’re after. I’ll split these recommendations into two camps: the heavy-hitters the pros swear by for insane durability, and the more forgiving DIY-friendly options that still pack a serious quality punch.
This isn’t just a list. I’ll explain why each one earns its spot, connecting its features back to those concepts we talked about—hardness, self-leveling, and long-term performance. Think of this as your practical buyer’s guide for walking into the paint store with confidence.
Professional Favorites for a Flawless Finish
When a professional painter stakes their reputation on a job, they don’t mess around with second-best. They reach for products known for consistency and a finish that cures up rock-hard. These paints are engineered for a smooth, factory-like appearance that can take a beating.
- Benjamin Moore ADVANCE: This is pretty much the gold standard for a huge number of pros. As a waterborne alkyd, it gives you that beautiful, hard finish and amazing self-leveling you’d expect from an old-school oil paint, but with the easy water cleanup of a latex. It has a longer “open time,” which is a fancy way of saying it stays wet a bit longer, giving you more time to work the paint and smooth out any brush strokes for a truly exceptional finish.
- Sherwin-Williams Emerald Urethane Trim Enamel: This is another top-tier waterborne alkyd, and it’s famous for its incredible durability. The urethane in the formula creates an even tougher, cross-linked bond as it cures. The result? A finish that’s highly resistant to chipping, scuffs, and stains. If you have a high-traffic kitchen where cabinets face daily abuse from kids, pets, or just life, this is your go-to.
A professional finish is built on products that not only look good on day one but also withstand years of cleaning and use. Brands like Benjamin Moore ADVANCE and Sherwin-Williams Emerald Urethane are chosen for their ability to cure into a tough, non-blocking surface that resists the wear and tear of a busy kitchen.
The buzz around these high-performance coatings is part of a bigger trend. The global furniture paint market is expected to hit USD 12.99 billion by 2029. Why? Because homeowners want finishes that are not only beautiful but also extremely durable, scratch-resistant, and a breeze to clean. You can get a deeper dive into cabinet market trends over on The Farnsworth Group’s blog.
Top DIY Choices for Great Results
While the pro-grade paints are fantastic, their slow cure times can be tricky for a beginner. The options below are a bit more forgiving, with a slightly easier application and faster dry time. They’re perfect for the weekend warrior who still wants a beautiful, lasting finish.
It’s comforting to know that some brands, much like the best kitchenware, have built a reputation on excellence. For instance, in our guide, we explore how Henckels provides excellence in kitchenware, and that same principle of trusted quality applies to picking the right paint.
General Finishes Milk Paint
Don’t let the name fool you; this isn’t your grandma’s traditional milk paint. It’s a premium, self-sealing acrylic paint that’s legendary in the DIY community for its amazing adhesion and durability. The prep work is often minimal—sometimes no sanding or priming is needed on clean, previously finished wood. It covers like a dream, but for an even tougher finish, you’ll want to seal it with their High Performance Topcoat.
Fusion Mineral Paint
Similar to General Finishes, this is another all-in-one product with a built-in topcoat that’s incredibly user-friendly. It dries to a smooth, matte finish and sticks to almost any surface with very little prep. It’s a fantastic choice if you want to transform your cabinets quickly and without a lot of fuss, delivering a durable finish that holds up well to everyday life. These products are proof you don’t need a sprayer and years of experience to get a result you can be proud of.
Common Cabinet Painting Mistakes and How to Fix Them
Knowing which paint to choose is a huge step, but it’s only half the battle. You can have the best can of cabinet paint on the market, but if a few classic mistakes creep in, you’ll end up with a disappointing finish.
Think of this as your field guide to the blunders that can derail even the most well-intentioned DIY project. Dodging these pitfalls is the secret to a professional-looking finish you’ll love for years—not one you’re touching up in a few months.
Rushing the Curing Time
This is, without a doubt, the most common and damaging mistake I see. You’ve just finished the last coat, and the doors feel dry to the touch within a few hours. The temptation to hang them back up and reclaim your kitchen is almost unbearable.
But hold on. There’s a world of difference between dry time and cure time.
- Dry: This just means the solvents (like water) have evaporated. The surface isn’t tacky anymore.
- Cure: This is the real magic. It’s when the paint’s molecules chemically cross-link, hardening into a durable, scratch-resistant shell.
Most top-tier cabinet paints need a full 2-4 weeks to fully cure. Putting your doors back into action before then is an open invitation for dings, chips, and scuffs on the still-soft finish.
The Fix: Patience is your most valuable tool here. Wait at least 24-48 hours before carefully reinstalling the doors. Then, treat your cabinets like they’re brand new for the first month—no aggressive scrubbing, no slamming doors.
Applying Coats Too Thickly
When you’re aiming for perfect coverage, it feels intuitive to load up your brush or roller. More paint equals better coverage, right? Unfortunately, this approach backfires spectacularly with cabinet enamels.
Laying the paint on too thick traps solvents and prevents the underlying layers from curing properly. The result is a finish that feels gummy or soft, even weeks later. It’s also the fast track to ugly drips and sags on your doors and frames.
The Fix: The mantra here is multiple thin coats, not one or two thick ones. Trust the process. Follow the manufacturer’s recommended recoat times to the letter. This method builds up a much stronger, harder, and smoother finish in the end.
Using the Wrong Tools
You just spent good money on premium cabinet paint. Don’t sabotage all that effort by pairing it with a cheap, shedding brush or a flimsy roller.
- Cheap Brushes: These are notorious for leaving bristles behind in your finish and creating deep, obvious brushstrokes that scream “DIY.”
- Low-Density Rollers: Instead of a smooth, factory-like surface, these create a stippled, orange-peel texture that looks and feels amateur.
The Fix: Invest in quality tools designed for smooth surfaces. It makes a world of difference. Grab a high-quality angled brush for cutting in around edges and a high-density foam or mohair roller for the flat panels and doors.
The quality of your tools has a direct impact on the final look. This focus on quality extends to every part of the process, including the packaging. The global paint cans market is set to grow from USD 38.2 billion in 2025 to USD 76.6 billion by 2035, driven by the need for airtight packaging that preserves paint quality and prevents issues like premature skinning. You can explore further insights into paint packaging trends if you’re interested.
Your Cabinet Painting Questions Answered
Even after you’ve picked your paint and primer, a few nagging questions always seem to pop up right before you grab the brush. Let’s tackle those common last-minute thoughts to give you that final boost of confidence.
Can I Really Use Regular Wall Paint on My Cabinets?
It’s a tempting shortcut, I get it. You’ve got half a gallon left over from the living room, why not use it? But this is one of those shortcuts that will cost you big time down the road.
Wall paint is designed for low-traffic surfaces. It just doesn’t have the hardening agents needed to stand up to the daily abuse of a kitchen. Think about it—cabinet doors get bumped, slammed, and wiped down constantly. Wall paint is simply too soft for the job and will start showing chips, scuffs, and stains that won’t come clean within a year.
The best cabinet paint is a different beast entirely. It’s formulated to cure into a hard, enamel-like shell built for high-touch areas and frequent cleaning. Don’t skip it.
Is Spraying My Cabinets Better Than Brushing?
Professionals love spraying for a reason: it can deliver a flawless, factory-like finish with zero brush marks. But—and this is a big “but”—it comes with a steep learning curve and a massive amount of prep work. You have to mask off literally everything you don’t want paint on, and that’s a huge undertaking for a first-timer.
For most DIYers, a high-quality angled brush for the details and a high-density foam roller for the flat surfaces will get you a beautiful, nearly perfect finish. This combo minimizes texture and brush strokes without the cost of extra equipment and the soul-crushing hassle of masking an entire room. It’s a fantastic, and much more achievable, result.
While spraying offers a perfect finish, the right tools and technique with a brush and roller can get you 95% of the way there with only 25% of the hassle. For most DIY projects, this is a winning trade-off.
How Long Until I Can Actually Use My Kitchen Again?
This is where so many projects go wrong. Paint might feel “dry to the touch” in just a few hours, but it is definitely not “cured.” Curing is the chemical process where the paint film hardens to its maximum durability, and this is what really protects your cabinets. Don’t rush this part.
This critical hardening process can take anywhere from two to four weeks. You can usually reinstall your cabinet doors and drawers after 24-48 hours, but you have to treat them with kid gloves for that first month. That means no aggressive scrubbing and being extra mindful of bumps or dings that could damage the still-soft finish.
Giving your cabinets this uninterrupted curing time is the single best thing you can do to ensure a long-lasting, durable paint job. If you’re looking for more home improvement deep-dives, feel free to explore more topics on our Reva Housing blog.
At Reva Housing, we provide in-depth, conversational guides to help you make confident, well-informed purchases for your home. Visit us for more reviews and tips: https://revahousing.com