


Taking good care of a wooden cutting board really comes down to three things: clean it gently by hand, dry it thoroughly on its edge, and condition it every so often with a food-safe oil. If you can turn these simple habits into a routine, you’ll sidestep issues like warping, cracking, and staining. Your board will stay hygienic, look fantastic, and be a reliable part of your kitchen for years to come.
Why Wooden Cutting Board Care Matters
A well-loved wooden cutting board is often the unsung hero of the kitchen. It’s there for dicing onions, carving a roast, or even serving up a beautiful charcuterie spread. But unlike plastic or glass, wood is a natural, porous material that breathes and reacts to its environment. That just means it needs a little bit of attention to stay in prime shape. Letting it go can lead to some frustrating problems that will definitely shorten its life.
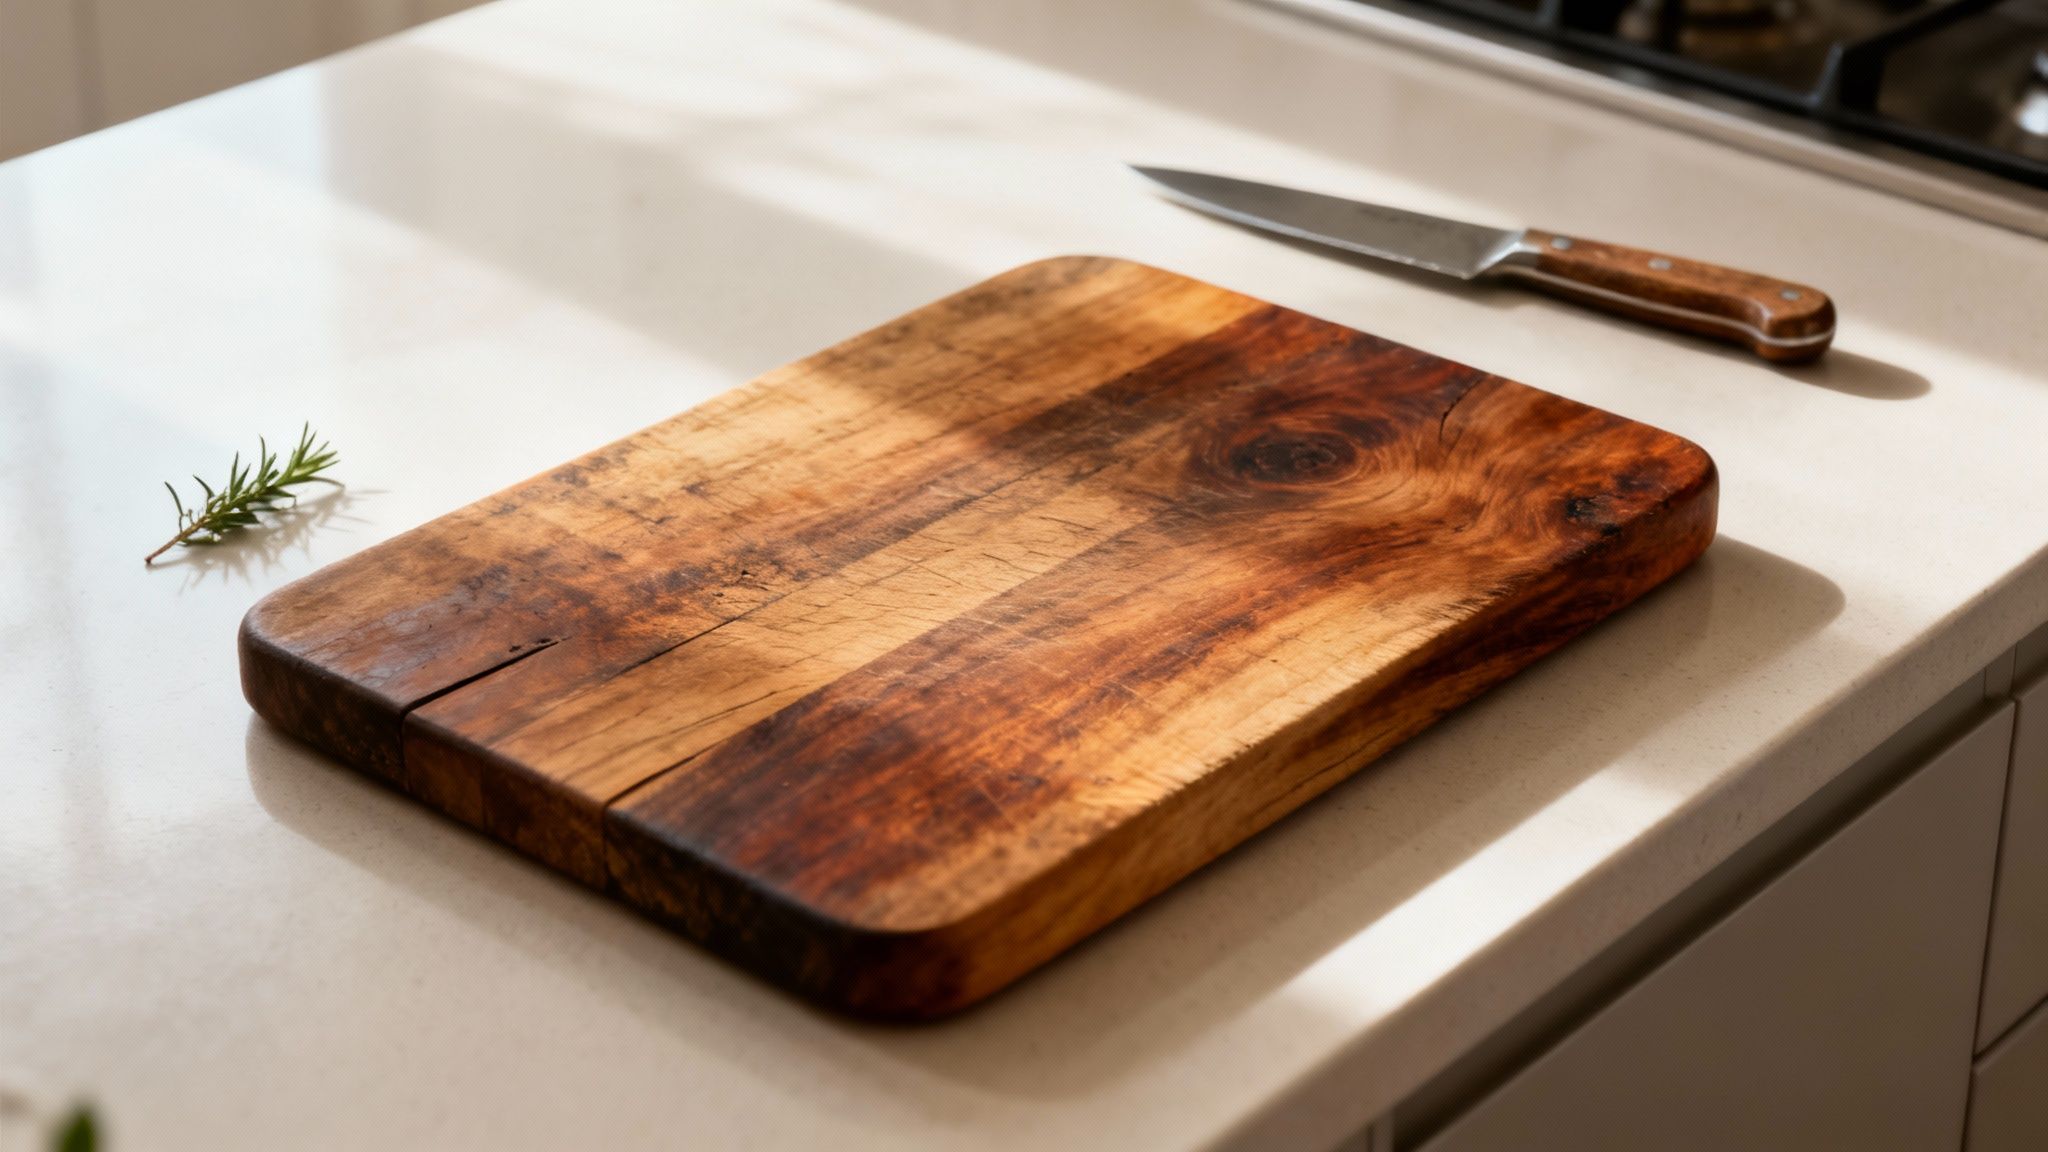
It helps to think of the wood fibers as a bundle of tiny straws. When they get too dry, they shrink and become brittle, which is how you end up with cracks. On the flip side, if they soak up too much water, they swell up unevenly, causing the board to warp and wobble on your counter—a classic sign of water damage.
The Benefits of a Consistent Care Routine
Committing to a simple maintenance routine turns your cutting board from just another kitchen tool into a lasting investment. The payoff is pretty significant.
- You’ll have it for years (or decades). Proper cleaning and oiling can extend a board’s life from a few years to a lifetime, protecting it from the daily grind of chopping and slicing.
- It’s safer for your food. Wood is naturally antimicrobial, which is great, but keeping it clean and sealed with oil is what really prevents bacteria from setting up shop in knife grooves or tiny cracks.
- It just looks better. Regular conditioning brings out the wood’s deep, natural colors and grain. It’s the difference between a board that looks dull and tired and one that looks rich and inviting.
- It works better. A flat, smooth, well-maintained board is safer and frankly more enjoyable to use. It provides a stable surface that’s also much kinder to your knife edges than a dry, hardened one.
This guide goes beyond the usual advice, offering a clear, practical playbook for turning a simple kitchen tool into something you’ll be proud to use for years. By the end, you’ll know exactly how to care for your wooden cutting boards with confidence.
Your Daily Cleaning and Drying Routine
The most important part of keeping a wooden cutting board in great shape isn’t some complicated monthly ritual. It’s what you do right after you’re done cooking. Honestly, how you clean and dry your board every day makes the biggest difference in preventing the most common problems, like warping and cracking.
Think about it this way: if you just sliced a loaf of bread, a quick wipe to get the crumbs off is all you need. But if you just diced an onion or minced a pile of garlic, you’ll want to give it a proper wash to stop those smells from sticking around. That immediate attention is what keeps your board fresh and ready for whatever you throw at it next.
Gentle Washing Is Key
For day-to-day cleaning, all you really need is warm water and a little bit of gentle dish soap. You don’t need to scrub the life out of it. Just use a soft sponge or cloth and wash both sides of the board, moving lightly with the grain of the wood. This little trick helps keep the wood fibers from getting all fuzzy and raised over time. While you’re tidying up the kitchen, our guide on how to clean stainless steel might come in handy for making the whole space shine.
Pro Tip: Never, ever, ever put your wooden cutting board in the dishwasher. The intense heat combined with a long soak in water is the absolute fastest way to destroy it. You’ll end up with deep cracks and a board so warped it spins on your counter.
Hand-washing is simply non-negotiable. Studies have shown that dishwashers can cause warping and splitting in as little as 6–12 months of regular cycles. That’s a huge drop in lifespan compared to simple hand-washing. If you want to dive deeper into how long a good board should last, you can discover more insights on proper kitchenware care.
The Critical Art of Air Drying
Once your board is clean, how you dry it is just as important as how you wash it. A quick wipe with a towel doesn’t cut it—moisture gets trapped deep in the wood fibers. And please, don’t just lay it flat on the counter to dry. That’s a classic mistake that traps moisture on one side, which is the number one cause of warping.
Here’s the simple, foolproof method I use every time:
- Wipe It Down: After a good rinse, grab a clean dish towel and wipe off all the excess water. Get the front, back, and all the sides.
- Stand It Upright: Prop the board up on its edge. You can lean it against your backsplash or pop it in a dish rack. The key is to let air circulate freely around every single surface. This ensures it dries evenly.
- Let It Breathe: Just leave it there for a few hours, or even overnight. You want it to be completely dry to the touch before you even think about putting it away.
This one small habit—standing the board on its edge—is the single most effective thing you can do to prevent it from bending or cupping. It’s a tiny bit of effort that pays off big time in the long run.
Mastering The Art Of Oiling And Conditioning
Just like your skin needs moisture, a wooden cutting board gets thirsty. Without regular conditioning, it will dry out, become brittle, and eventually crack. Think of oiling as the most important spa treatment you can give your board. This simple ritual creates a protective barrier that keeps water out and stops the wood from warping over time.
This isn’t a new concept in kitchen care. In fact, if you’ve ever wondered how to protect other durable gear, you can learn more about how to season a cast iron skillet in our detailed guide. The principle is the same—creating a resilient, non-porous surface that’s built to last.
Choosing The Right Oil For Your Board
When it comes time to pick an oil, you can’t just grab anything from the pantry. The goal is to use an oil that penetrates the wood fibers deeply but will never, ever go rancid. This is a critical detail that makes all the difference for your board’s longevity and food safety.
Your best bets are:
- Food-Grade Mineral Oil: This is the industry standard for a reason. It’s cheap, easy to find, and completely food-safe. It’s a non-drying oil, which means it stays in a liquid state inside the wood’s pores, effectively blocking moisture from getting in.
- Board Cream with Beeswax: Many of the best conditioners out there combine mineral oil with natural waxes like beeswax or carnauba wax. The oil sinks in deep to hydrate the wood, while the wax creates a tough, water-repellent seal on the surface.
A huge mistake people make is using cooking oils like olive, vegetable, or coconut oil. These are organic fats that will oxidize and go rancid over time. Before you know it, your board will have a funky smell and a sticky, gross residue. Always stick to a stable, food-grade mineral oil.
The Oiling Process Step-By-Step
Getting your board conditioned is a pretty straightforward and satisfying job. Just make sure your board is completely clean and bone-dry before you get started.
- Apply the Oil Liberally: Pour a generous amount of food-grade mineral oil right onto the board’s surface. Don’t be shy here—you want enough to create a visible layer across the whole thing.
- Work It Into the Wood: Using a clean, soft cloth, rub the oil into the wood with a circular motion. Get every single surface: the top, the bottom, and all the sides and edges. This is key for complete protection.
- Let It Penetrate: Now for the most important part: patience. Stand the board up on its edge and let it sit for several hours, or even better, overnight. This gives the oil plenty of time to soak deep into the wood fibers where it does the most good.
- Buff Off the Excess: After the board has had its drink, you might see a light film of extra oil on the surface. Just take a clean, dry cloth and buff it off until the board feels smooth to the touch, not greasy.
This process builds on a simple daily care routine.
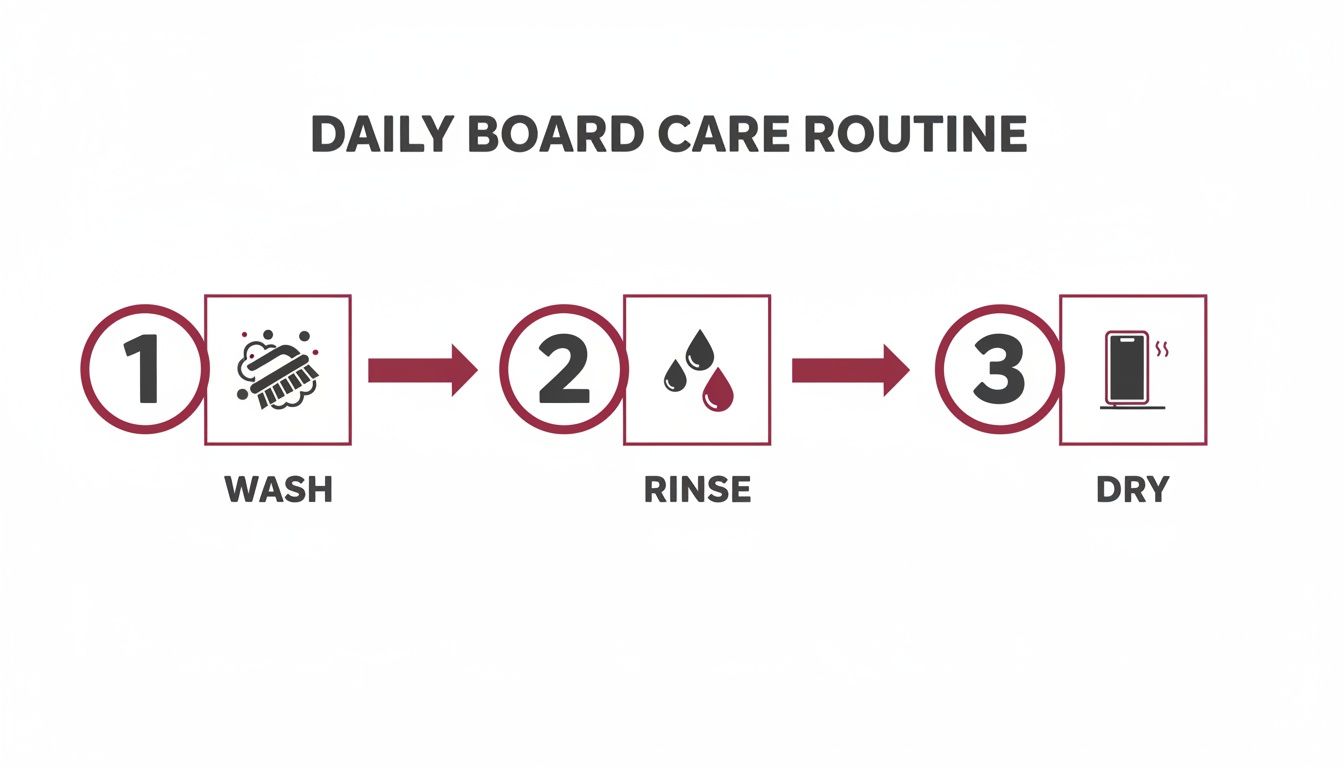
As the infographic shows, proper washing, rinsing, and upright drying are the foundational habits that make your periodic oiling sessions so effective.
How Often Should You Oil Your Board?
The “right” oiling schedule really depends on your board and how you use it. A brand-new board is thirsty and needs more frequent conditioning to get it fully seasoned. An older, well-loved board might only need a touch-up every month or so.
Here’s a quick guide to help you figure out a good rhythm.
Wooden Cutting Board Oiling Schedule
| Board Condition | Frequency of Use | Recommended Oiling Schedule |
|---|---|---|
| Brand New | Daily | Oil once a week for the first month |
| Well-Used | Daily | Once every 2-4 weeks |
| Lightly Used | A few times a week | Once every 4-6 weeks |
| Rarely Used | Once a month or less | Once every 2-3 months |
Ultimately, the best indicator is the board itself. If it starts to look dull, dry, or lighter in color, it’s telling you it’s time for a drink. A well-oiled board will have a rich, deep color with a slight sheen.
Getting Rid of Tough Stains and Lingering Smells
Even if you’re a pro at daily cleaning, your wooden board is going to face a tough stain or a stubborn smell eventually. It’s just part of its story. A handful of fresh berries might leave their mark, or the ghost of last night’s garlic could decide to stick around.
The great news? You don’t need to reach for harsh chemicals. Your pantry likely already holds everything you need to tackle these common kitchen battles safely and effectively.
Lifting Stains with Lemon and Salt
For those pigmented stains from things like beets, berries, or a splash of red wine, your best friends are coarse salt and a fresh lemon. Think of the salt as a gentle but persistent scrubber, and the lemon’s citric acid as a natural bleach that breaks down the stain.
Here’s how to put this power duo to work:
- First, sprinkle a generous layer of coarse salt (kosher or sea salt works great) over the stained area. Don’t be shy with it.
- Slice a lemon in half and use the cut side to scrub the salt right into the stain. Use small, circular motions and give the lemon a good squeeze as you go to release its juices.
- Once you’ve worked it into a paste, just let it sit. For most stains, 10–15 minutes is plenty. For a really stubborn spot, you can leave it on for a few hours without any harm.
- Finally, scrape off the paste, give the board a thorough rinse with cool water, and dry it completely. The best way is to stand it on its edge so air can circulate all around it.
This method is gentle enough to use whenever you need it and is a far better choice than soaking the board, which is a fast track to warping and cracking.
Kicking Persistent Odors to the Curb
Pungent foods are the best, but their aromas can overstay their welcome. Onions, garlic, fish, and funky cheeses can leave their aromatic footprint deep in the wood grain.
Luckily, the same lemon-and-salt trick works wonders here, too. The process helps lift and neutralize the aromatic oils that have settled into the wood, leaving your board smelling fresh and ready for its next job.
A Quick Word of Warning: Whatever you do, resist the urge to use bleach. It might seem like the ultimate disinfectant, but it’s way too aggressive for wood. Bleach will savagely dry out the fibers, can permanently discolor your board, and may even weaken the glue holding it all together. Just don’t do it.
The Final Sanity Check After Raw Meat
When you’re working with raw meat, poultry, or fish, proper sanitizing isn’t optional—it’s essential for a safe kitchen. You don’t need anything fancy, just a simple, food-safe solution to kill off any lingering surface bacteria like E. coli without damaging the wood.
All you need to do is mix a simple spray of one part white vinegar to four parts water in a spray bottle.
After you’ve washed your board with hot, soapy water, give the surface a light mist with your vinegar solution. Let it sit for a few minutes, then wipe it clean with a damp cloth and dry the board thoroughly. The vinegar smell disappears completely as it dries, I promise. It’s a simple last step that ensures your board is truly clean and hygienic.
How to Restore Your Board’s Surface by Sanding
After years of loyal service in your kitchen, it’s totally normal for a wooden cutting board to look a little… well-loved. Knife marks, faint scratches, and a slightly fuzzy feel are just signs of a life well-lived. But they definitely don’t mean your board is destined for the trash. In fact, a little bit of sanding can bring it right back to that slick, factory-smooth finish it had on day one.
The process is surprisingly satisfying and gives your board a genuine second chance. All you really need is some patience and the right sandpaper to erase those surface-level battle scars. Think of it as hitting the reset button, getting the wood ready to be seasoned and protected all over again.
The Right Tools For The Job
You don’t need a professional woodshop for this. The best and safest way to sand your board is by hand. This gives you way more control and prevents you from accidentally taking off too much wood, which is a real risk with a power sander if you’re not careful.
Here’s your simple toolkit:
- A couple of sheets of sandpaper: Start with a lower grit like 80-grit or 100-grit to grind down the deeper knife marks. Then you’ll need a finer grit, like 220-grit, to get that silky-smooth final finish.
- A sanding block (optional): A small piece of scrap wood or a proper sanding block helps you apply even pressure, but honestly, the palm of your hand works just fine.
- A damp cloth: This is just for wiping away all the sawdust when you’re finished.
Keep in mind that the type of board you have will affect how it wears over time. Edge-grain boards, for example, can last anywhere from 3–10 years with proper care. End-grain boards, where the wood fibers are facing up, are often called “self-healing” because your knife slips between the fibers instead of cutting them, showing fewer deep grooves.
The Sanding Process Explained
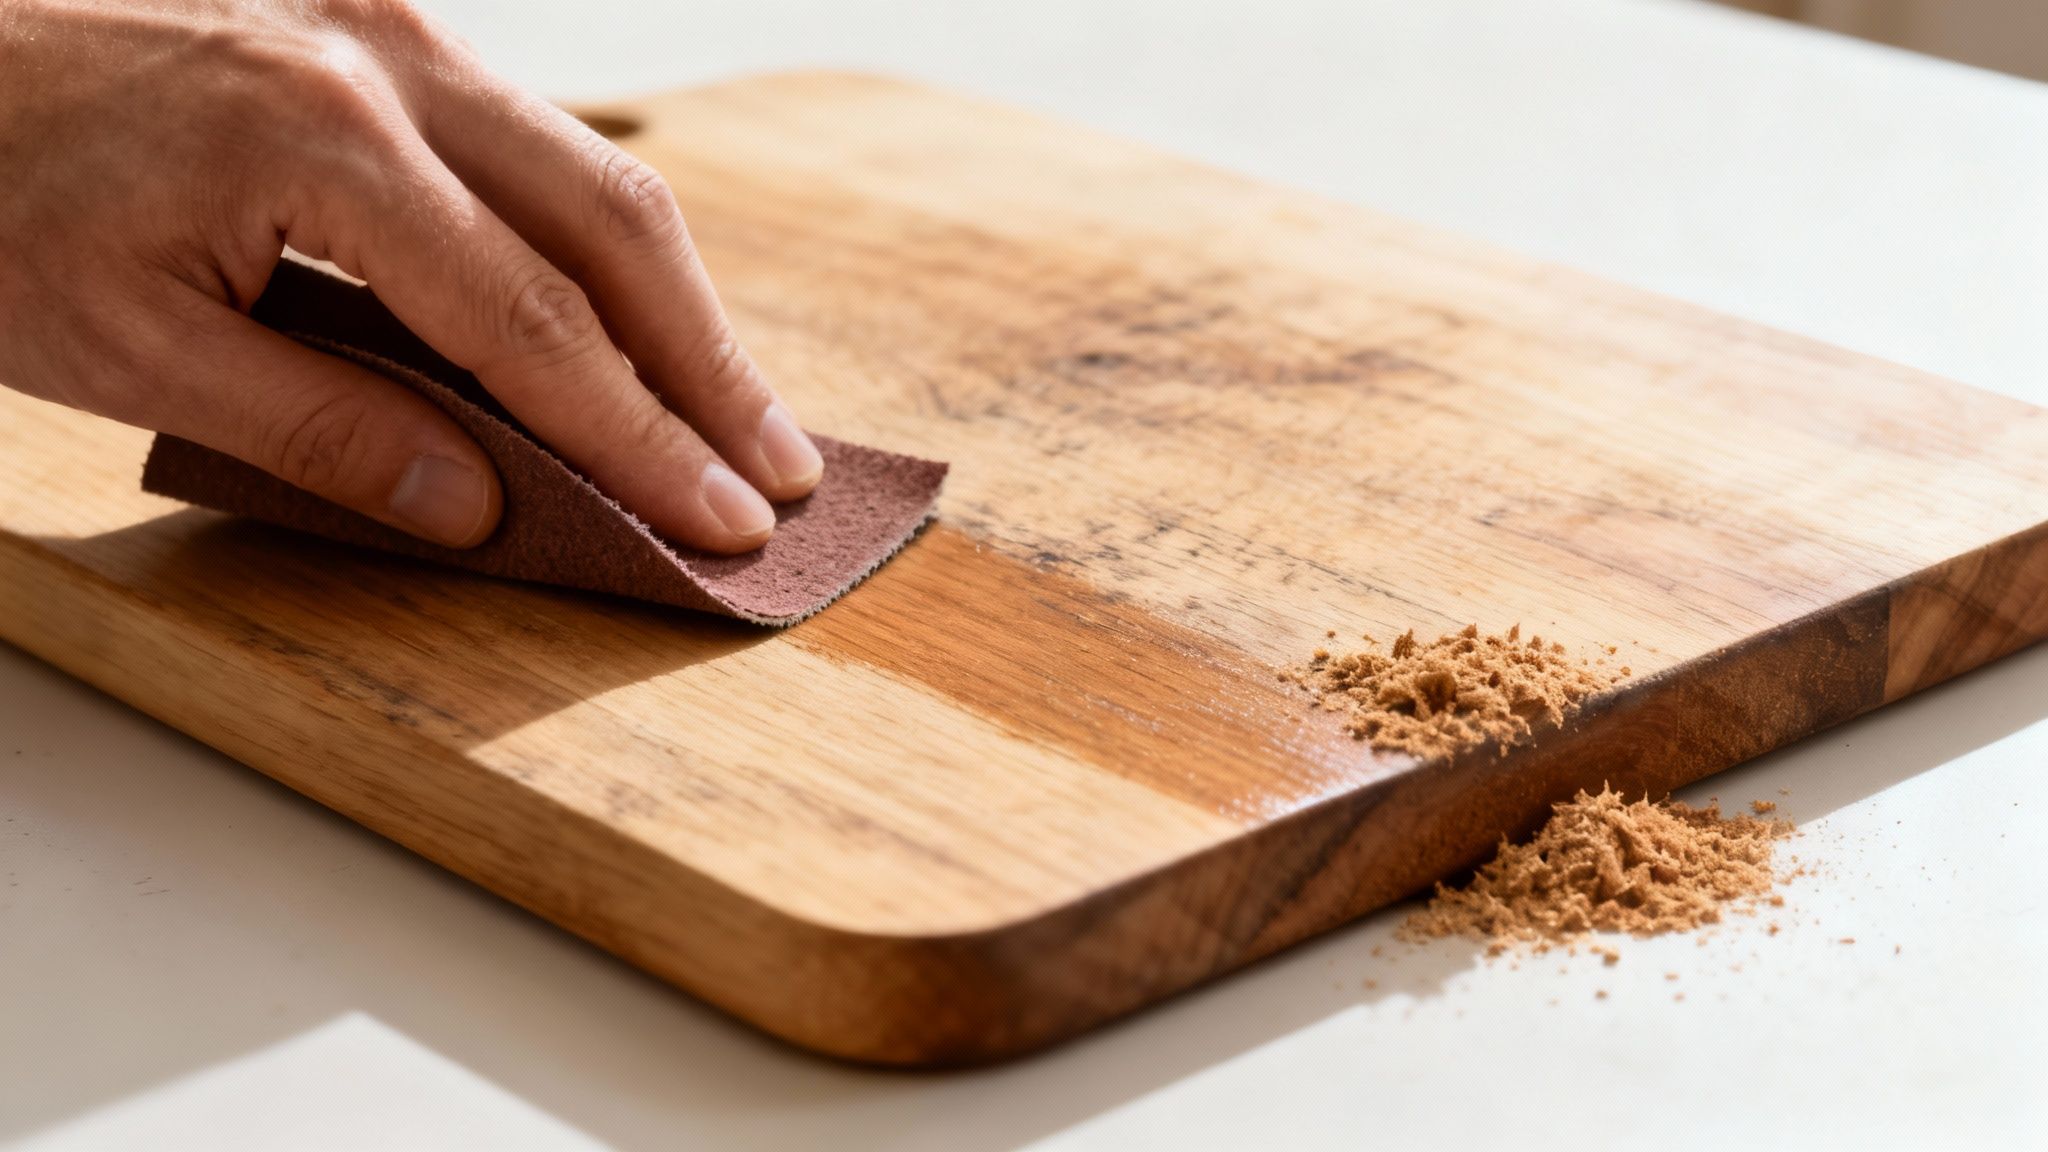
The secret to a great finish is working your way up from coarse grit to fine grit. And always, always sand with the grain of the wood, never against it. This smooths the wood fibers down instead of tearing them up and making the surface feel rough.
- Start with the Lower Grit: Wrap the 80-grit or 100-grit paper around your block (or just hold it flat in your hand). Use firm, even strokes to sand the entire surface of the board, moving back and forth in the direction of the wood grain. Pay a little extra attention to areas with heavy knife marks until they start to disappear. You’ll feel the board getting smoother as you go.
- Move to the Finer Grit: Once the deep scratches are gone, switch to your 220-grit sandpaper. Go over the whole board one more time, still sanding with the grain. This step buffs out the tiny scratches left by the coarser paper and leaves the surface feeling incredibly smooth.
Don’t Forget the Edges: The sides of your board get beat up, too. Give them a quick, light pass with the fine-grit paper to make sure the entire piece has a clean, uniform finish.
The Most Important Final Step
Hold on, you’re not done yet! Sanding opens up the wood’s pores, leaving it raw and thirsty. Skipping this last step is like exfoliating your skin and then forgetting to moisturize.
Once you’re happy with the smoothness, use a damp cloth to wipe away every speck of sawdust. Let the board air dry completely. Now, it’s time for a deep conditioning treatment. Apply a generous coat of food-grade mineral oil and let it soak in, preferably overnight. This is a non-negotiable step—it rehydrates the freshly exposed wood, brings back its deep, rich color, and rebuilds the protective barrier it needs to get back to work in your kitchen.
Knowing When It’s Time to Say Goodbye
Even with the best care, your trusty wooden cutting board won’t last forever. Years of chopping, slicing, and dicing take their toll, and eventually, the surface gets to a point where it’s just not safe for food prep anymore. Knowing when to spot the signs of a worn-out board is just as crucial as knowing how to oil it.
Think of it this way: over time, a board accumulates damage that no amount of scrubbing or sanding can truly fix. When that happens, your beloved kitchen workhorse can turn into a breeding ground for bacteria.
Key Signs Your Board Is Past Its Prime
You have to be honest with yourself about your board’s condition. If you spot any of these issues, it’s a clear signal that it’s time for a replacement, no questions asked.
- Deep Cracks or Splits: We’re not talking about fine, hairline surface scratches. I mean deep fissures and splits in the wood. These dark, moist crevices are impossible to properly sanitize and are basically a VIP lounge for nasty bacteria.
- Serious Warping: A board that rocks, spins, or wobbles on the counter isn’t just annoying—it’s dangerous. A slip of the knife is all it takes. This kind of instability is a sign of irreversible water damage deep within the wood.
- A Web of Fuzzy Grooves: If your board is covered in so many deep knife cuts that the surface feels fuzzy or splintered, and sanding doesn’t smooth it out, its integrity is shot. Those grooves are magnets for food particles, moisture, and germs.
A board covered in widespread, deep grooves is a lost cause from a food safety standpoint. At that point, bacteria have way too many places to hide, and no amount of scrubbing can guarantee you’re getting it truly clean.
A quality hardwood board that you oil regularly and always hand-wash can easily last 5–10 years. On the other hand, a board in a busy kitchen that sees heavy, daily use might only make it 2–5 years, especially if its care is a bit inconsistent.
Making the call to replace an old board isn’t a sign of failure. It’s the mark of a smart, responsible cook who puts a clean and safe kitchen first.
Got Questions? We’ve Got Answers
Even with the best instructions, a few questions always pop up when you’re getting serious about wooden board care. Here are some of the most common ones I hear from home cooks.
Can I Really Cut Raw Meat on a Wooden Board?
Yes, you absolutely can. Don’t let the myths scare you. The key is to clean and sanitize it immediately after you’re finished.
Wash the board thoroughly with hot, soapy water. Then, for peace of mind, wipe it down with a simple solution of one part white vinegar to four parts water. This takes care of any lingering surface bacteria and keeps your prep space safe and sound.
What’s the Difference: Mineral Oil vs. Board Cream?
Think of it like this: oil hydrates, and cream protects.
Food-grade mineral oil is a thin, penetrating liquid that soaks deep into the wood fibers, essentially moisturizing them from the inside out. Board creams and conditioners, on the other hand, usually mix that same mineral oil with a wax, like beeswax.
This wax creates a protective, water-repellent barrier on the surface. For the absolute best results, use the oil first to hydrate, let it soak in, and then seal the deal with the cream.
How Do I Get That Lingering Garlic Smell Out?
Ah, the ghost of garlic past. The best trick I’ve found is a natural one: grab half a lemon and some coarse salt.
Dip the lemon half into the salt and use it to scrub the board’s surface. Let that sit for a few minutes so the salt and acidic juice can work their magic, then just rinse it clean with cool water. It’s a surprisingly effective combo for neutralizing those stubborn odors.
Properly caring for your kitchen tools, whether it’s your trusty cutting board or your go-to skillet, makes them last a lifetime. The same principles of avoiding harsh, abrasive materials, for example, are also critical when you’re learning how to care for nonstick pans.